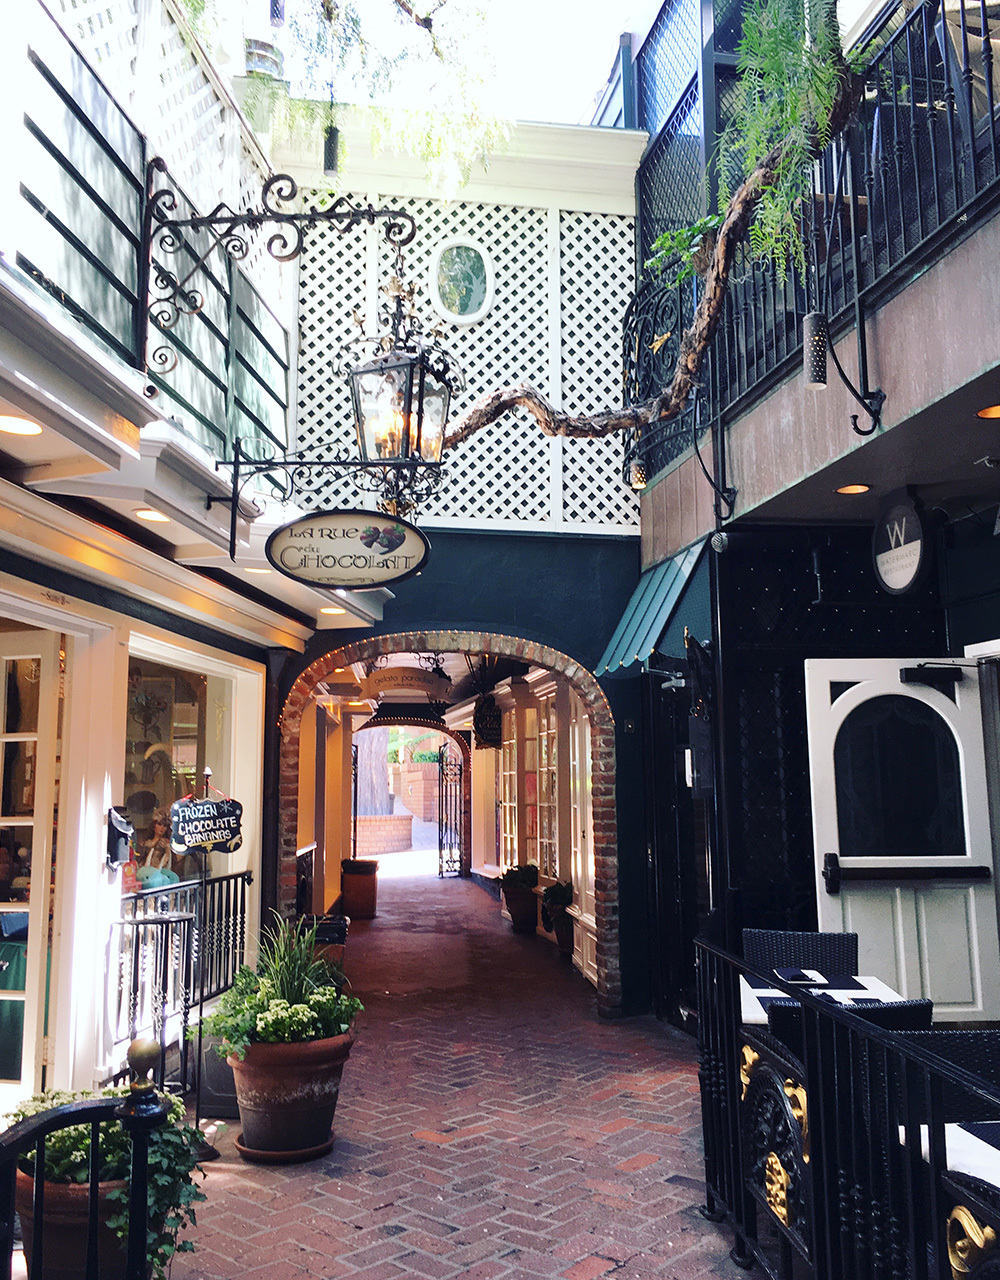
Brown’s Park in Laguna Beach
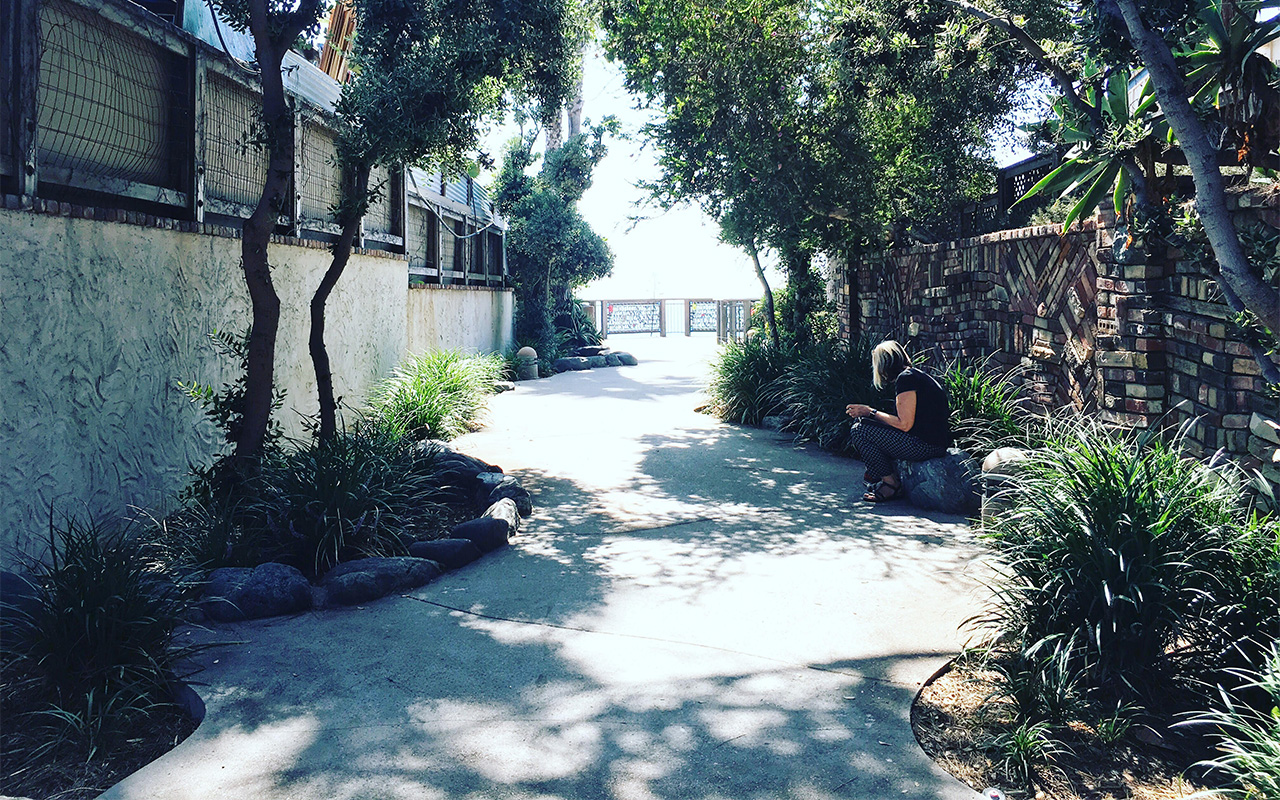
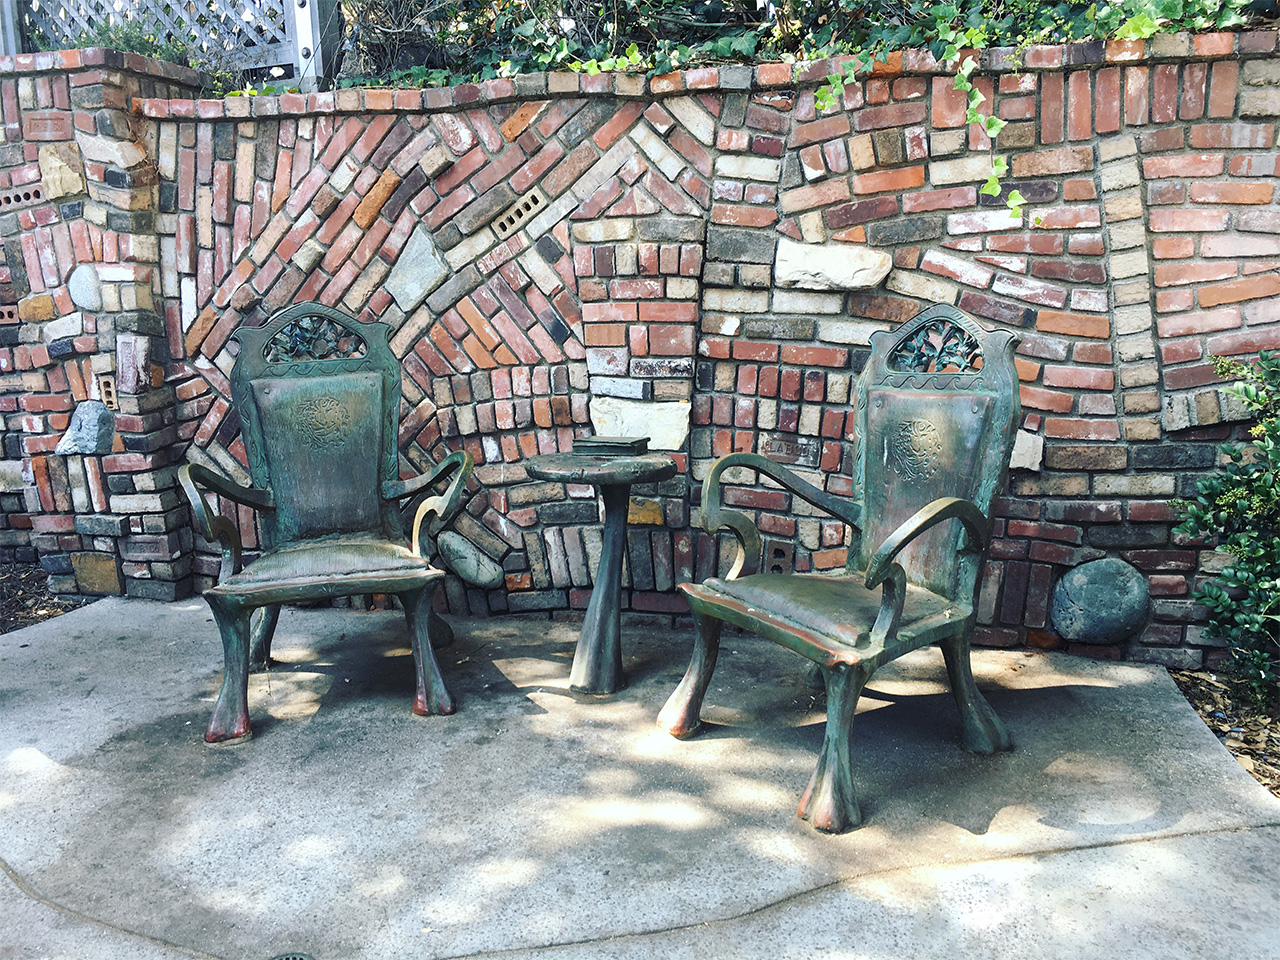
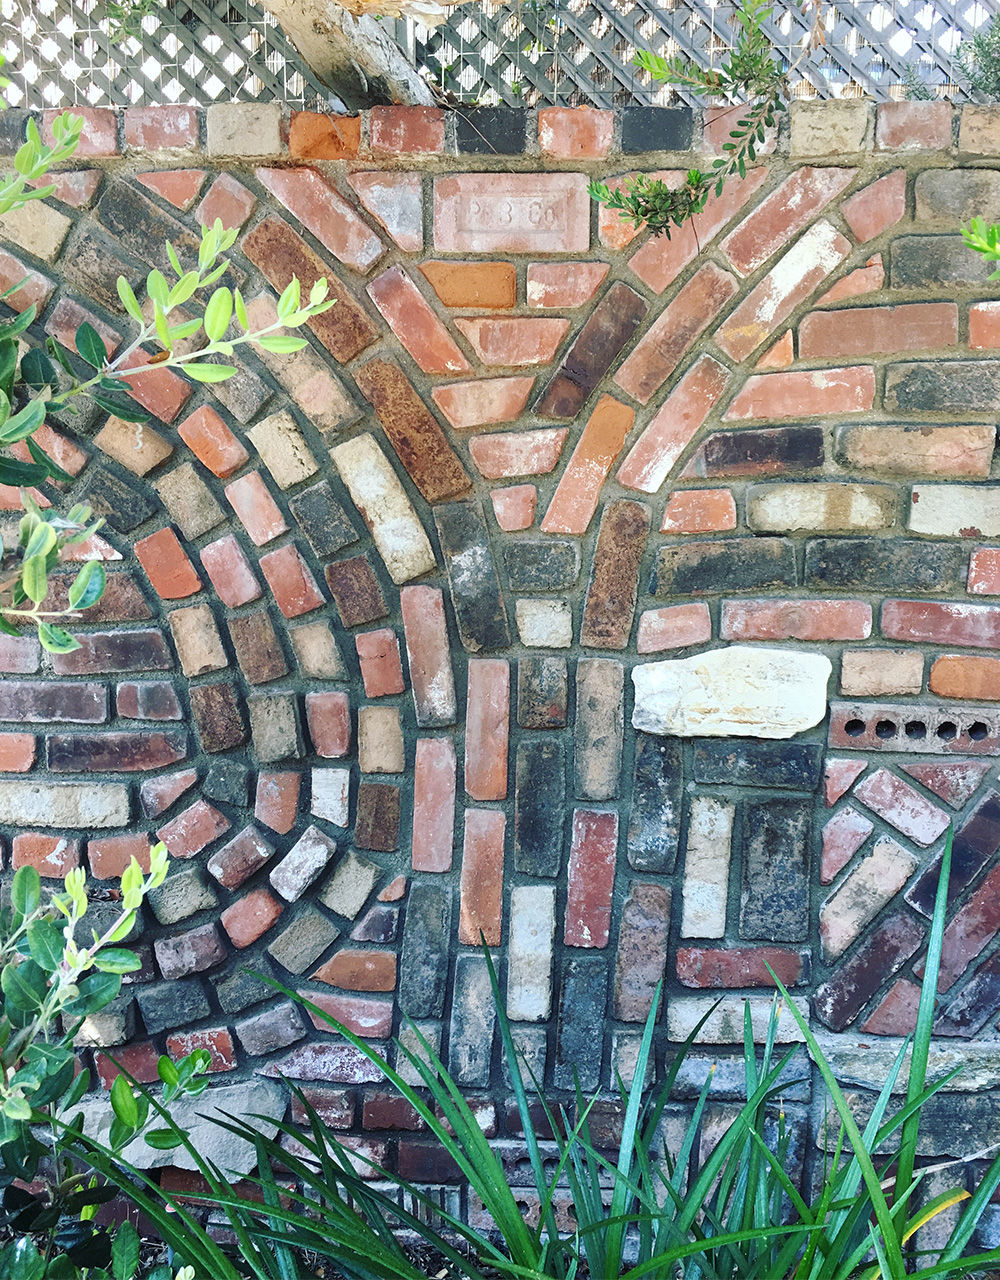
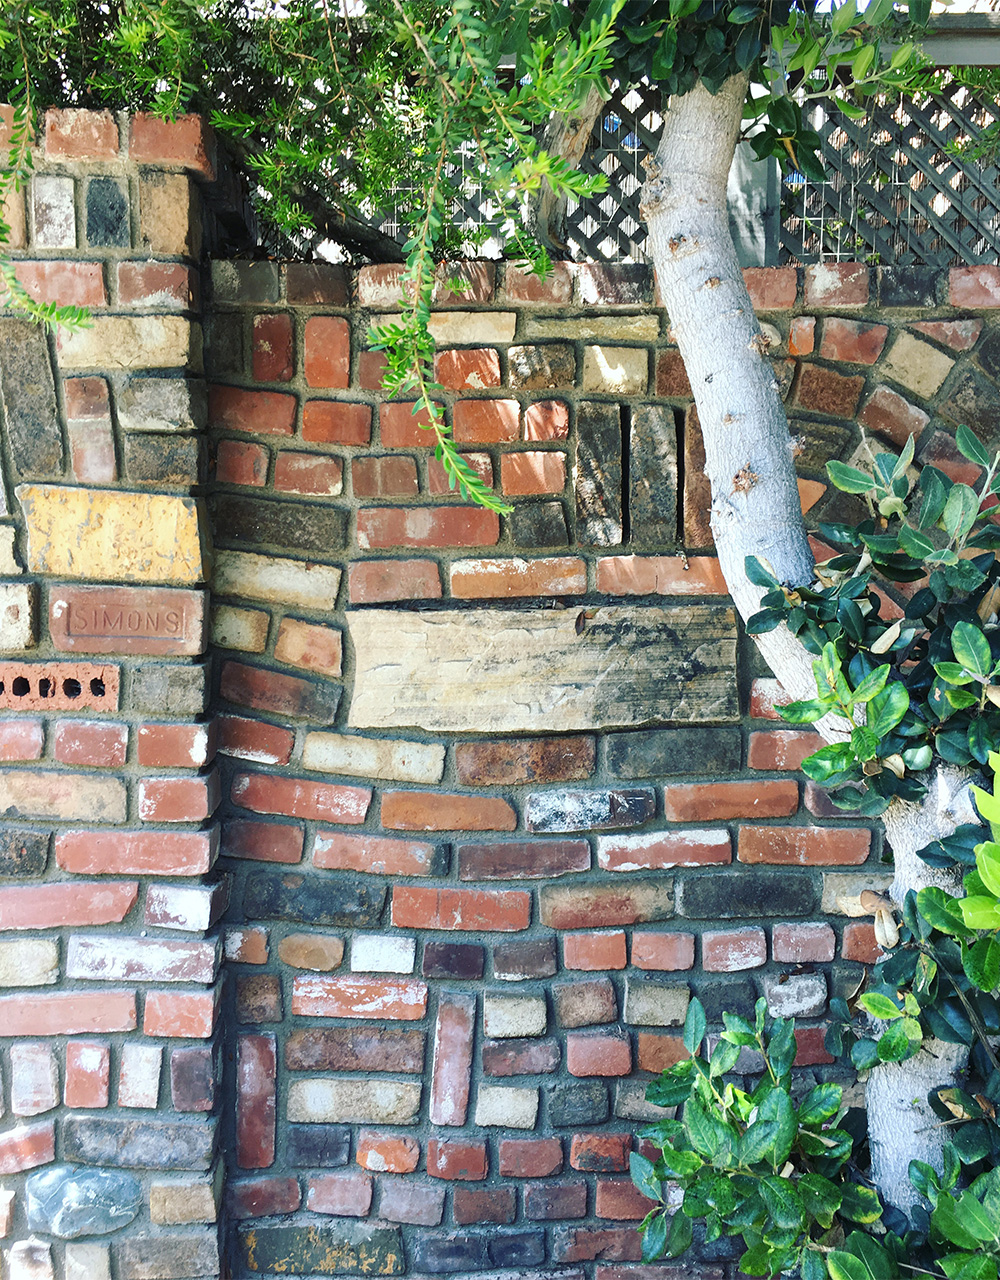
The whimsical character of both this brick wall and the sculptures plus the refreshing, vibrant colors of the surrounding plants give this area, in my opinion, a fairytale-like atmosphere.
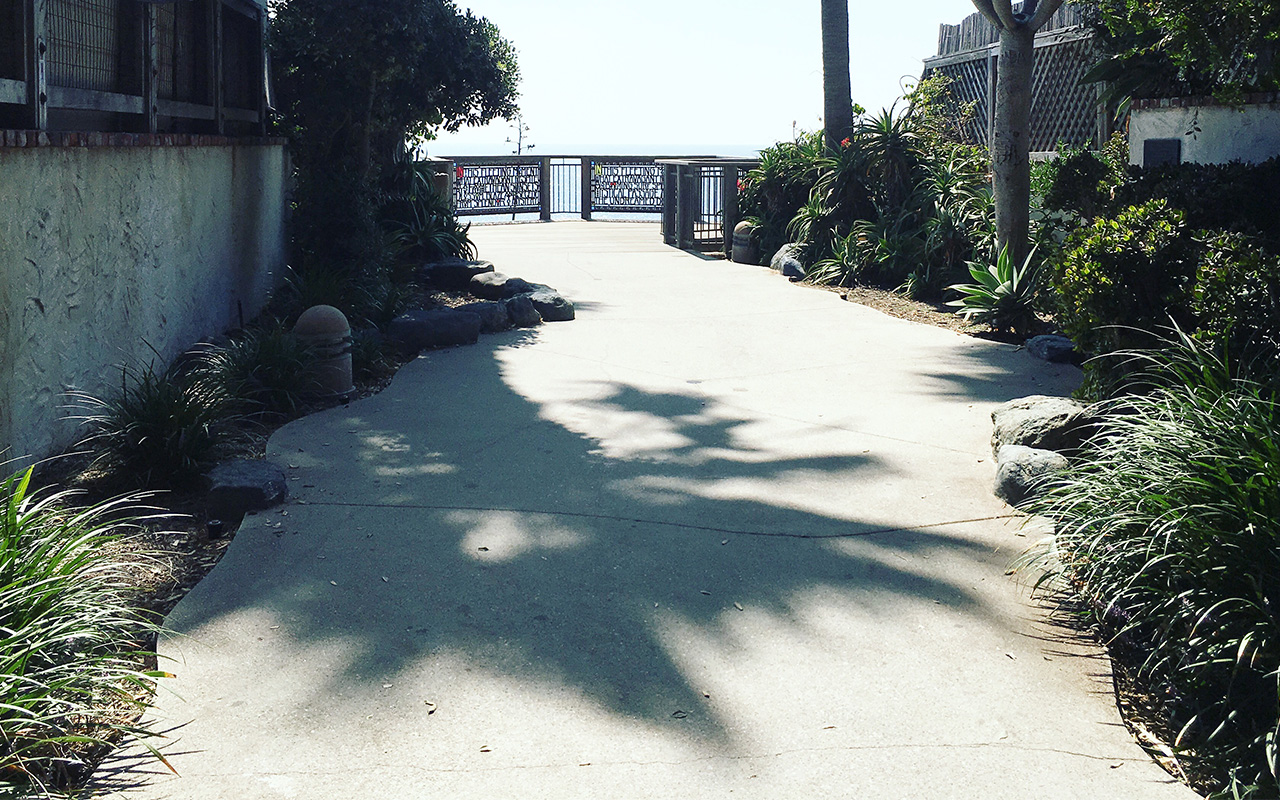

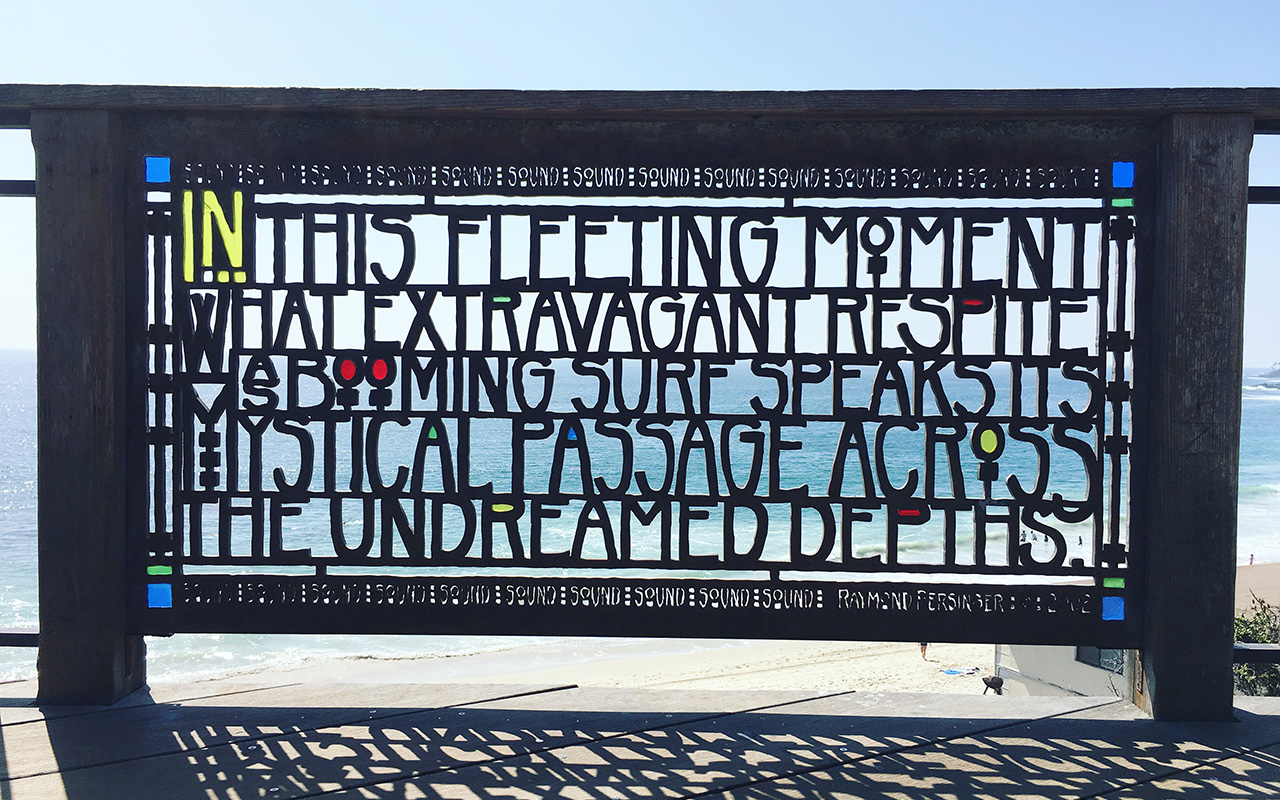
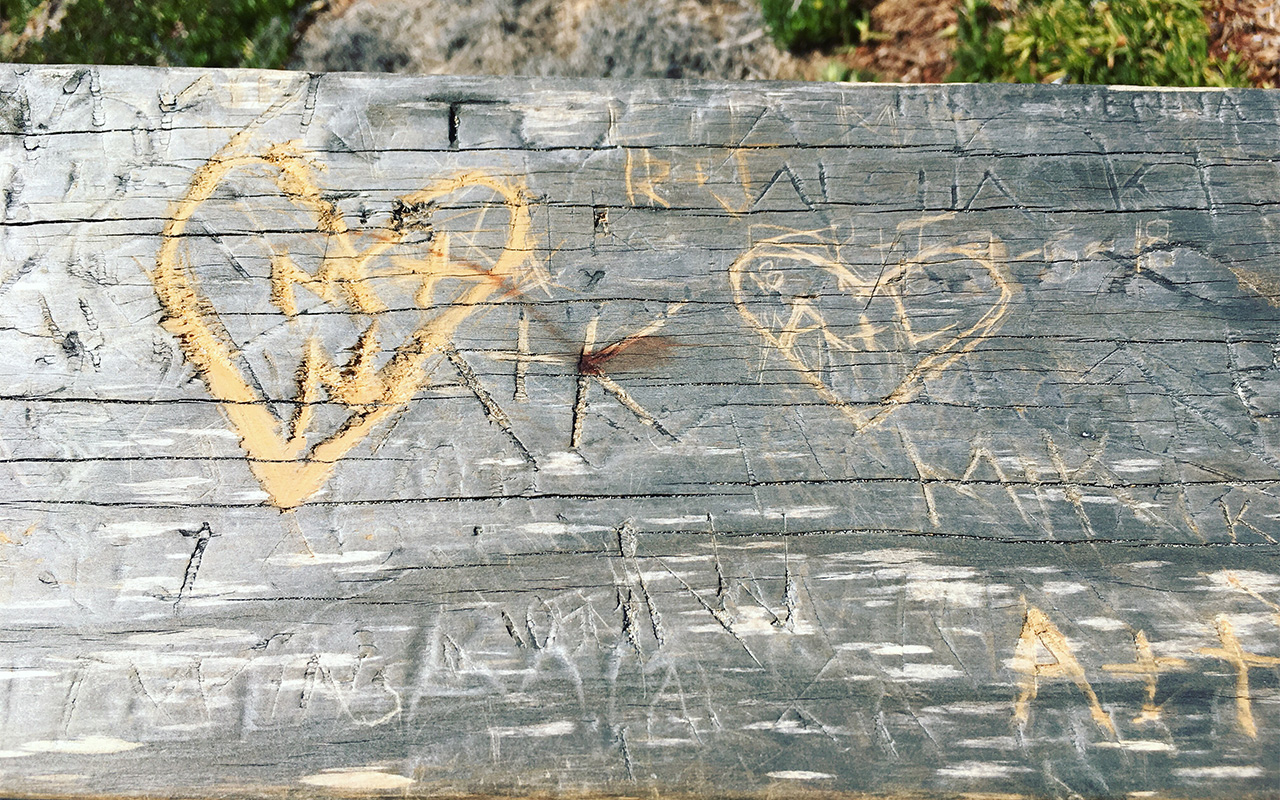
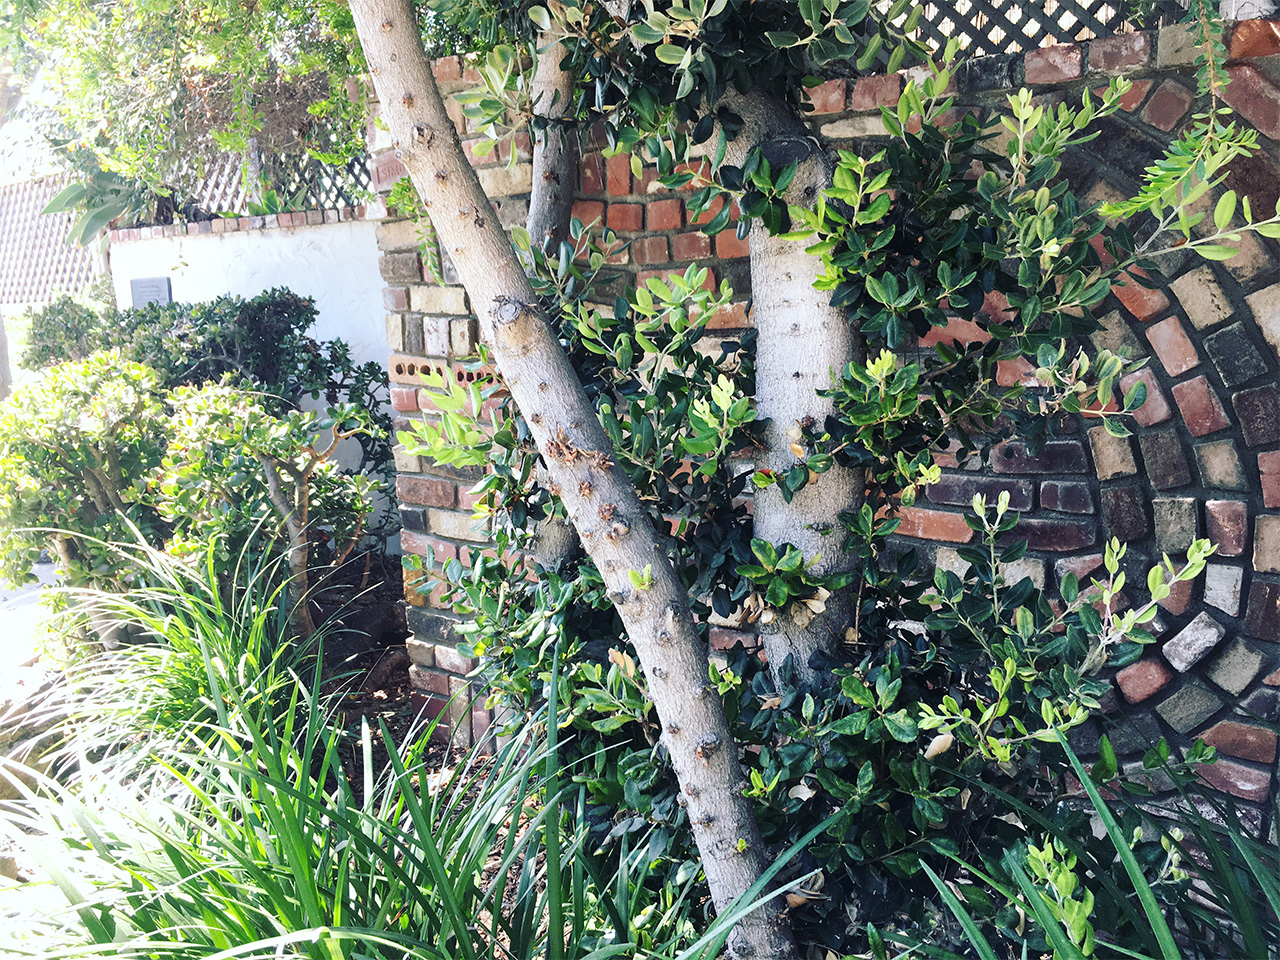
A poem by Joe Brown’s father is inscribed on a plaque at the entrance:
“Let me live in a house by the side of the sea,
Where men and women wander by
Where there is beauty and grace and excitement that’s free
On the beach, in the sun let me lie
Let me listen to ocean’s melodious roar
And its rhythm, so soothing to hear
As the foam-covered waves seem to reach for the shore
Under skies that are sunny and clear.”
– Joseph E. Brown
I told Troy this story. He said “I want to do shit like that!”
Brown’s Park, 551 South Coast Highway, Laguna Beach, CA 92651
The Top of the World
The Top of the World
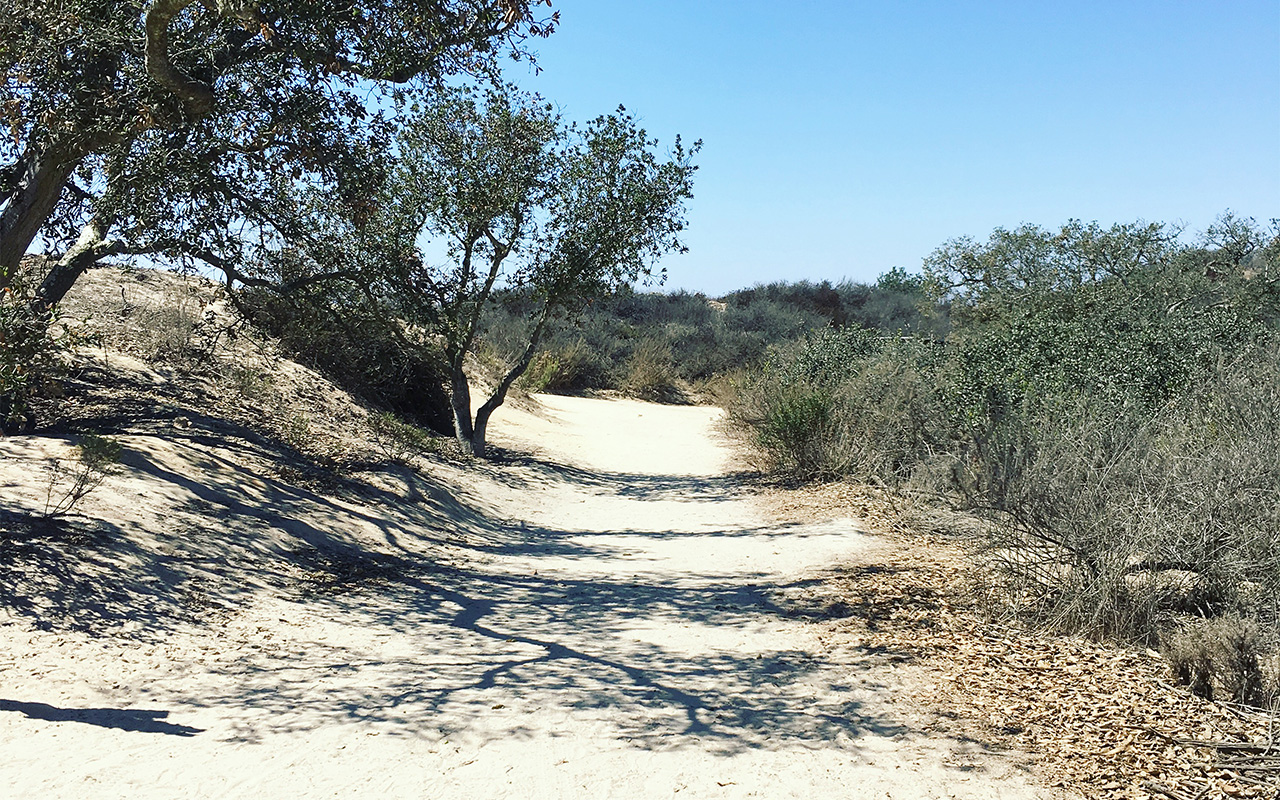
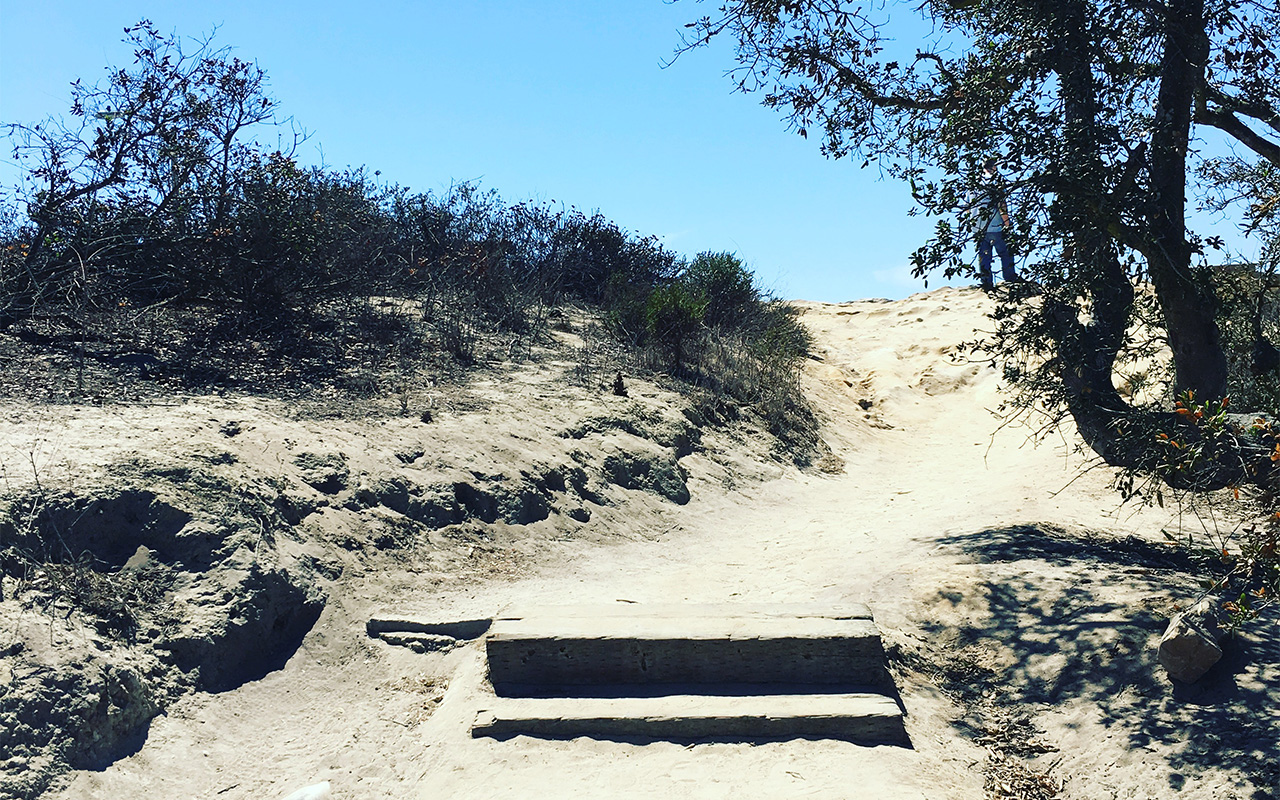
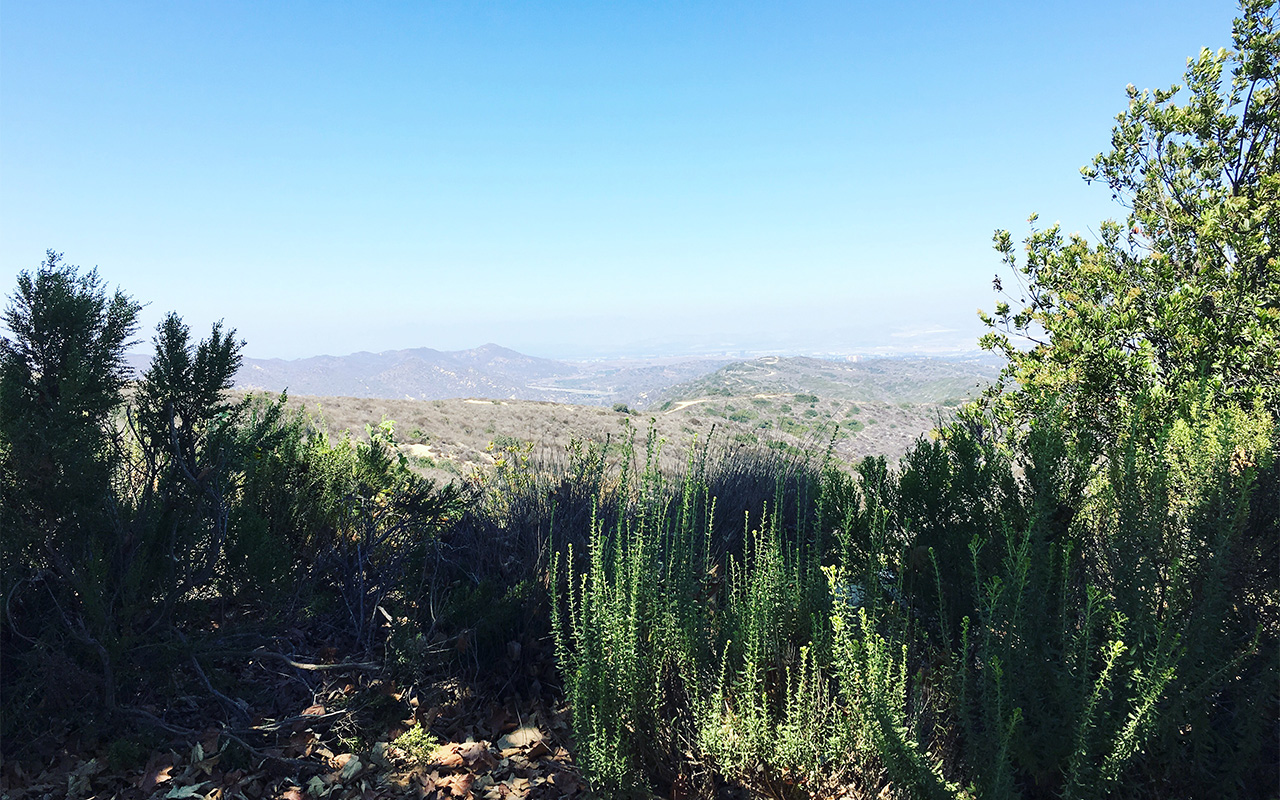
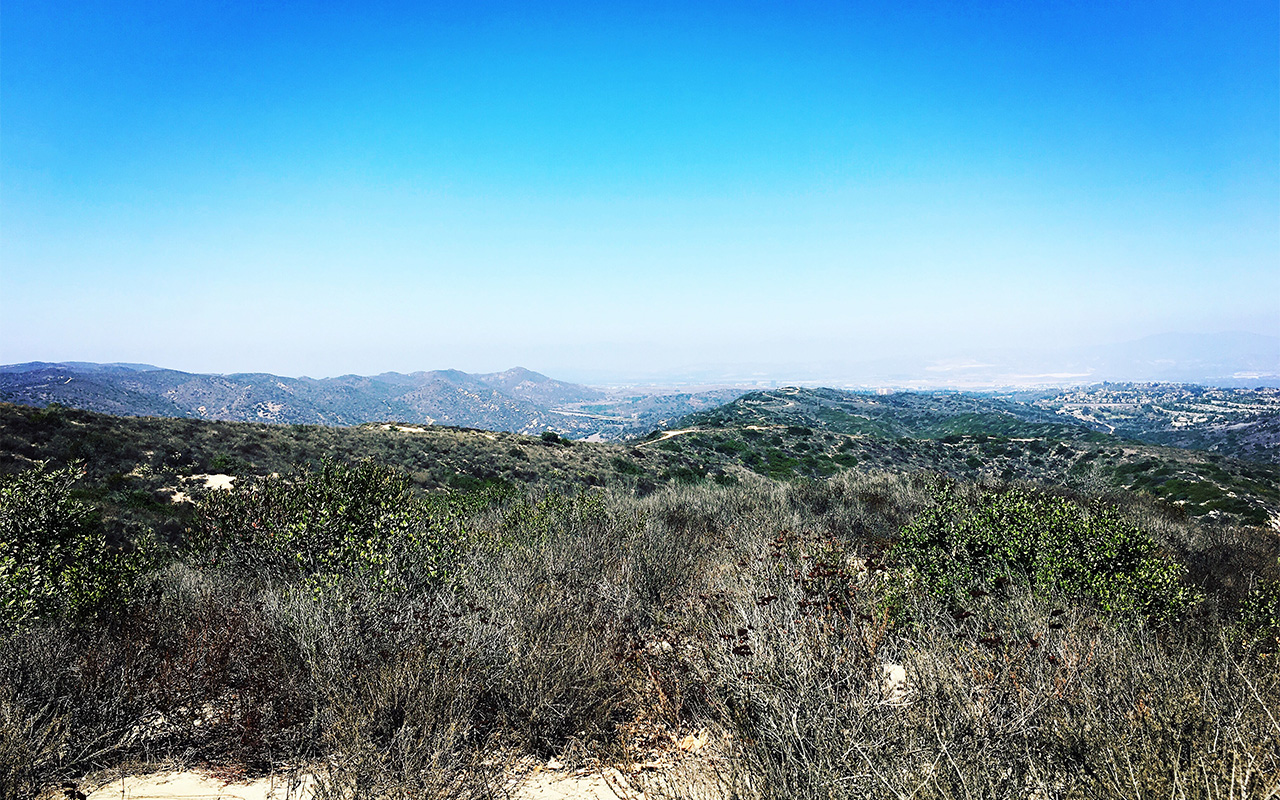
Sometimes, when you wander aimlessly, you end up at the top of the world. Maybe not the best place for an acrophobic like me, but I’m trying to be brave here.
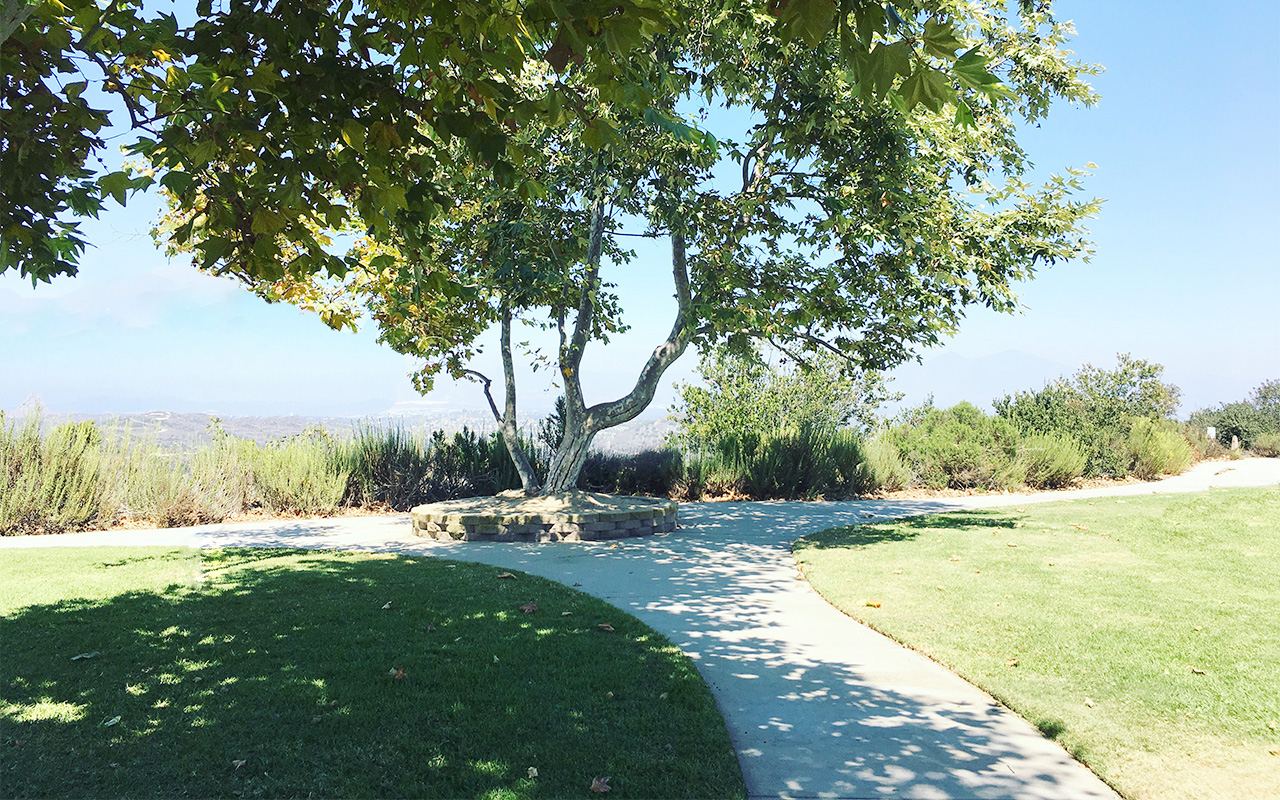
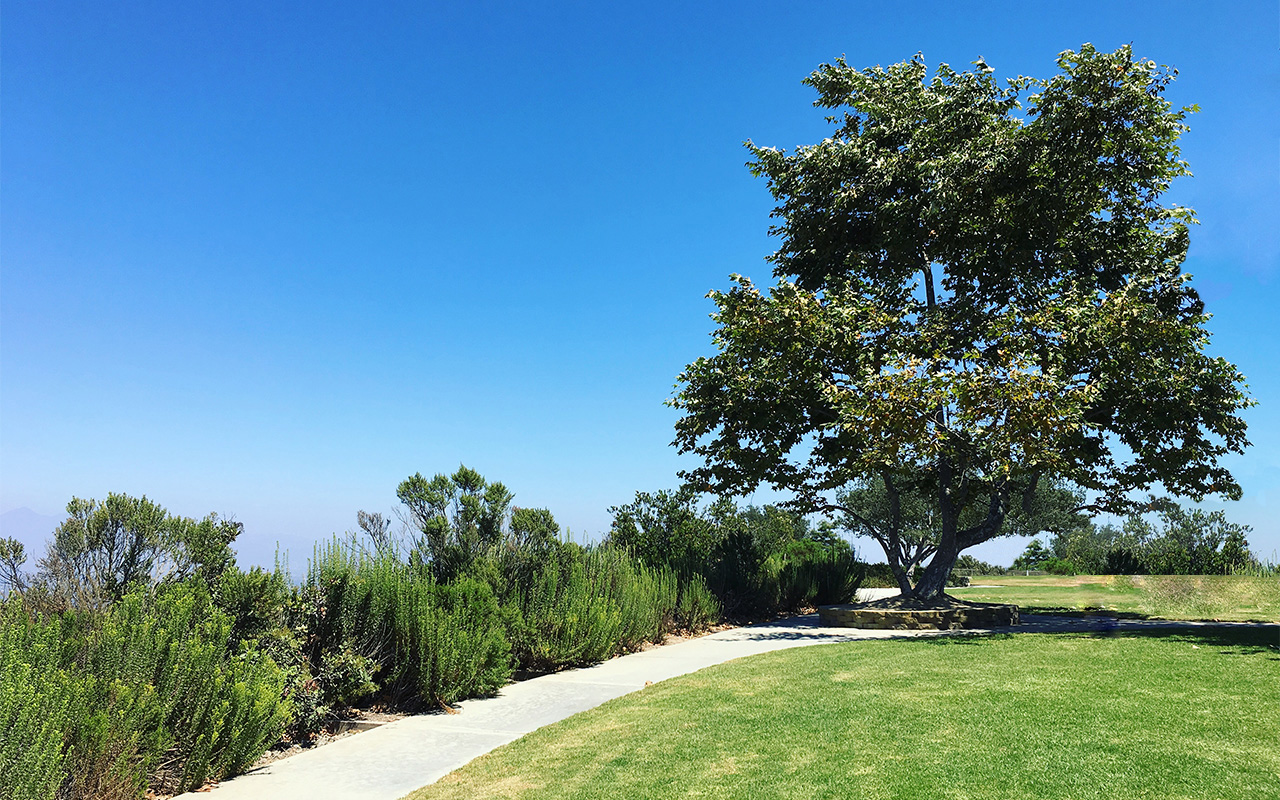
We’re at Alta Laguna Park, colloquially known as “Top of the World”. Troy and I discovered this place by accident. We were driving along Park Avenue in Laguna Beach, wondering where the road leads, and ended up here. It was a sweet surprise, although the drive up the canyon road was a little bit nerve-racking for me. (I really have to get over my fear of heights. I’m guessing no resident in the area is acrophobic.)
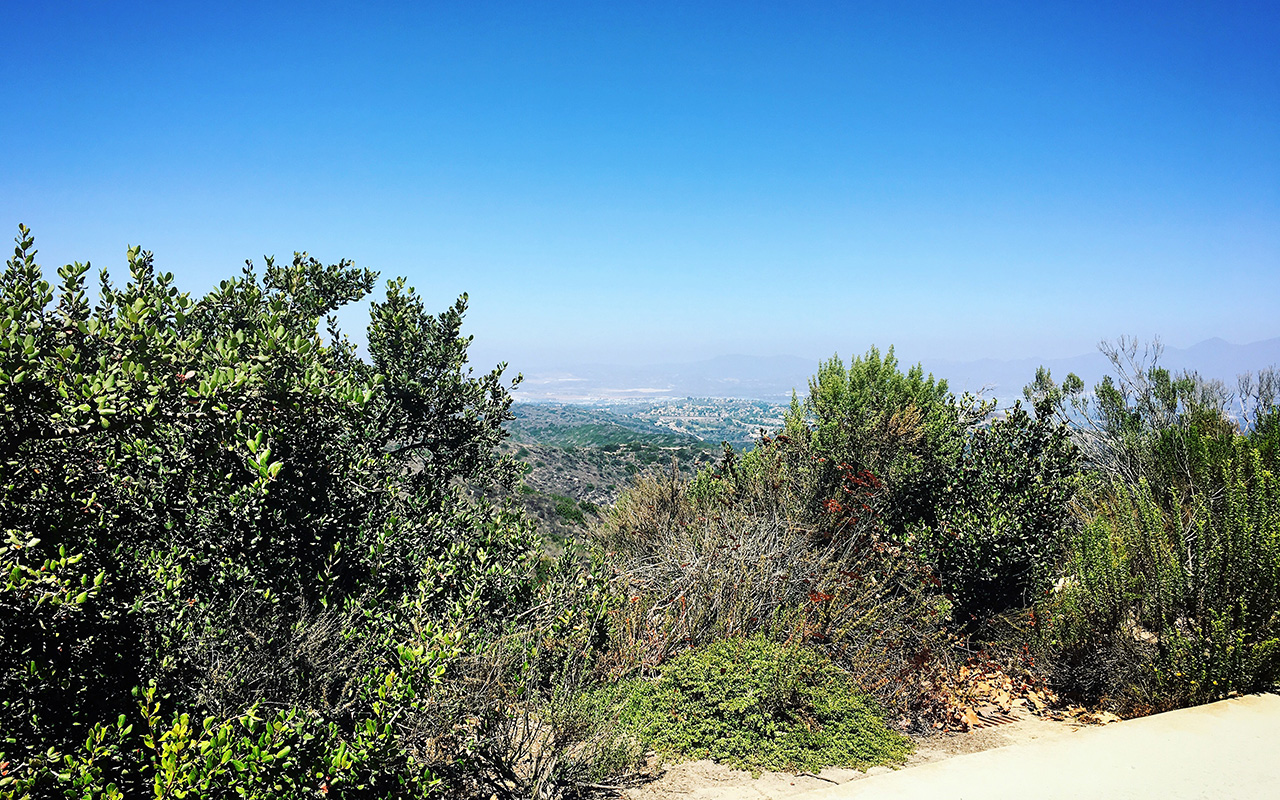
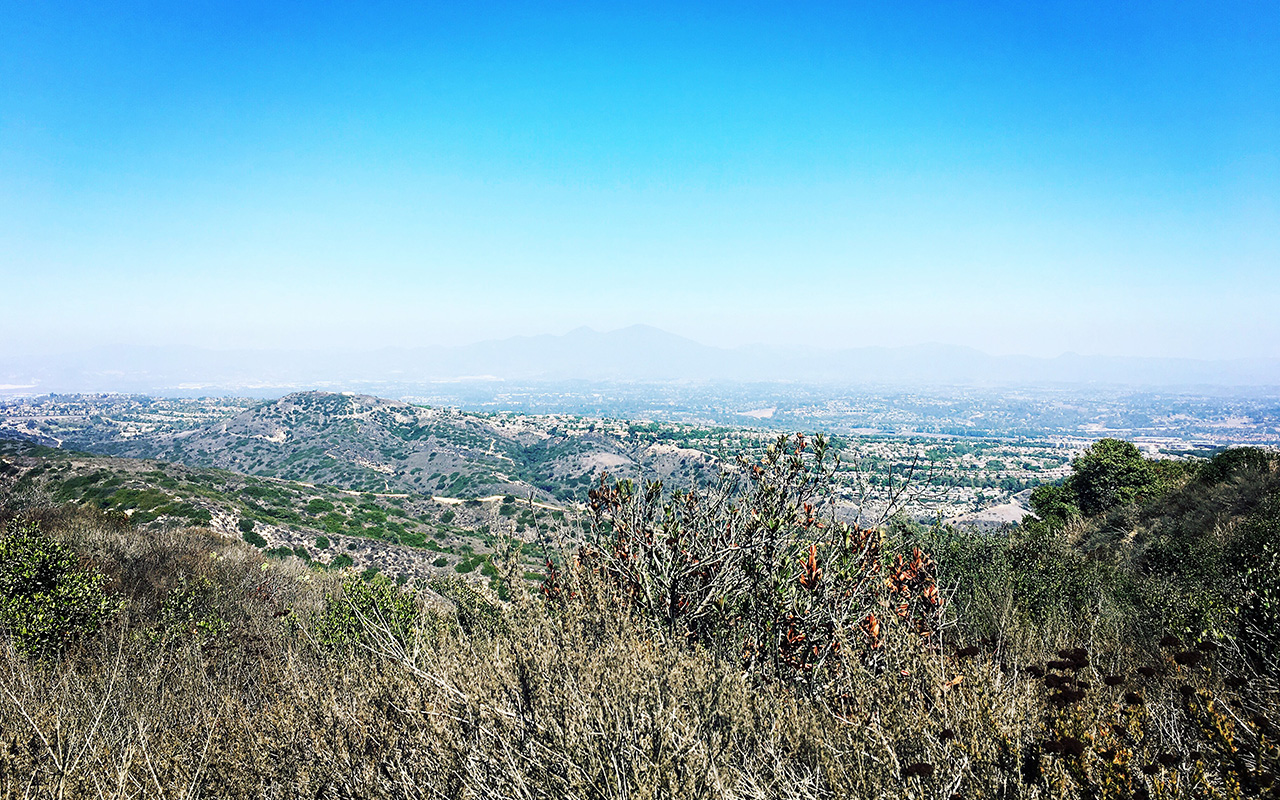
The park offers an expansive view of the valley on this side and of the ocean on the other side. And even if the valley doesn’t really offer any interesting scenes, it’s still a sight to behold. Have you done any exploring and accidental discoveries this week? If not, what interesting thing did you do this week? I’d love to hear!
Alta Laguna Park, 3299 Alta Laguna Blvd, Laguna Beach, CA 92651
The Artist Date and Peppertree Lane
The Artist Date and Peppertree Lane
I’m rereading Julia Cameron’s “The Artist’s Way” and taking a pledge to incorporate her two tools for creative recovery – the morning pages and artist date – into my daily and weekly rituals.
I’ve been doing morning pages for a while now although, admittedly, not consistently. I plan to change that and make it a part of my morning routine. What I’m really looking forward to is more stream-of-consciousness writing through my morning pages. As for the artist date which Cameron describes as a block of time dedicated to nurturing the creative consciousness, it shall be done, at least 2 hours once every week. It’s going to be fun! It will be my time as well to explore and document my local neighborhoods from a fresh perspective. Cameron wants this activity done in solitude – “just you and your inner artist” – but I will deviate a bit and take Troy with me. It’s going to be ok. He won’t distract me. We can wander and do things while engaged in our own thoughts. I promise, my creative well will still be amply filled.
So for our first artist date, we headed to Laguna Beach. Our goal was to just walk along the Pacific Coast Highway, starting in North Laguna, and wander through the shops and alleys like a tourist. We weren’t able to go far because, true to word, we really only had 2 hours to spend, and half that time was spent eating lunch at C’est La Vie where the ocean view was refreshing, the service was courteous but painfully slow, and the food wasn’t bad but wasn’t exceptional either. Still, we had a great time and, at the end of the day, our creative pond was well-stocked.
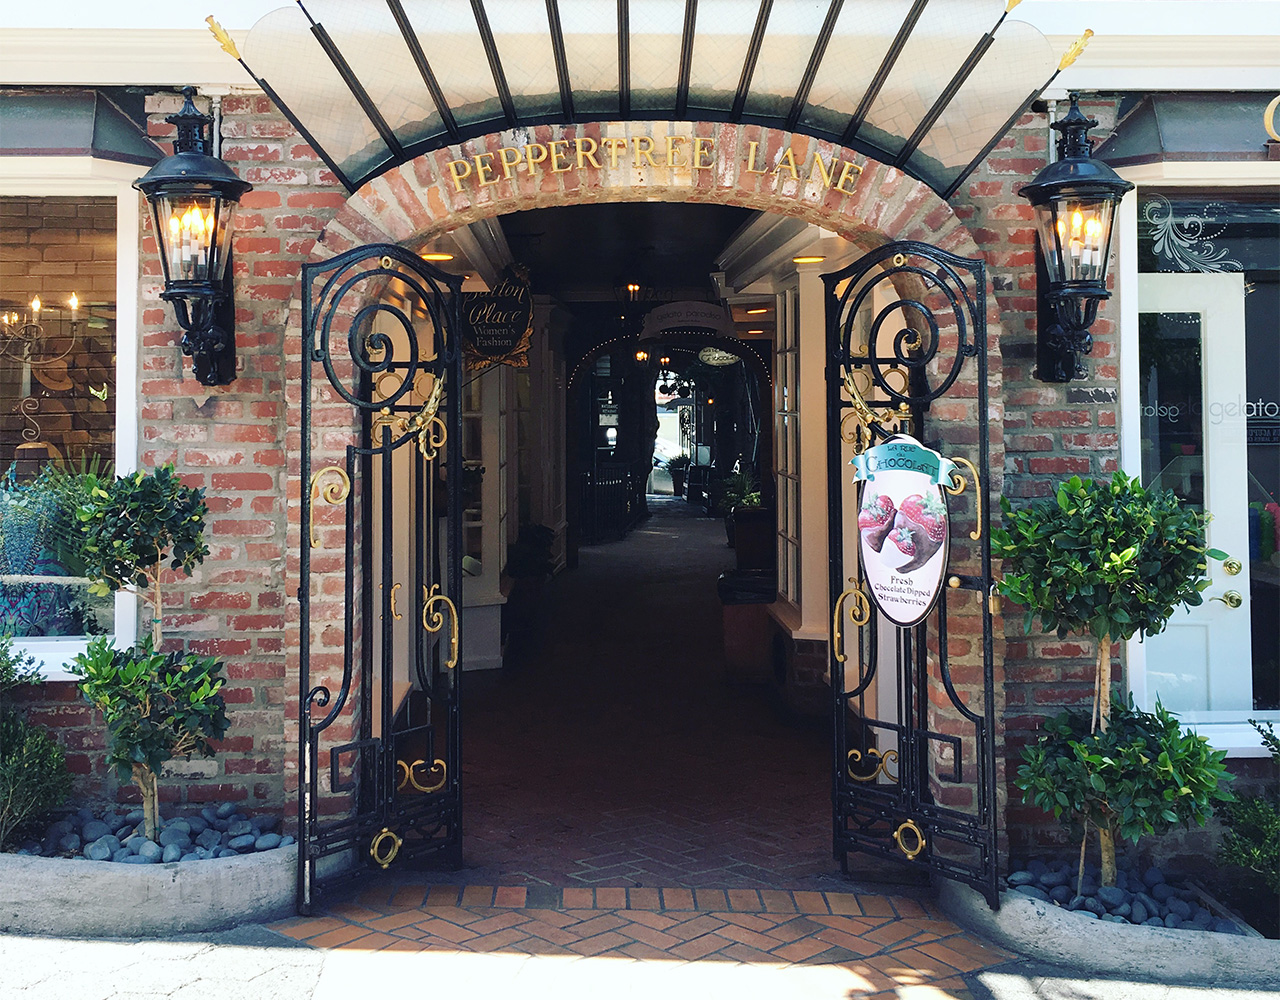
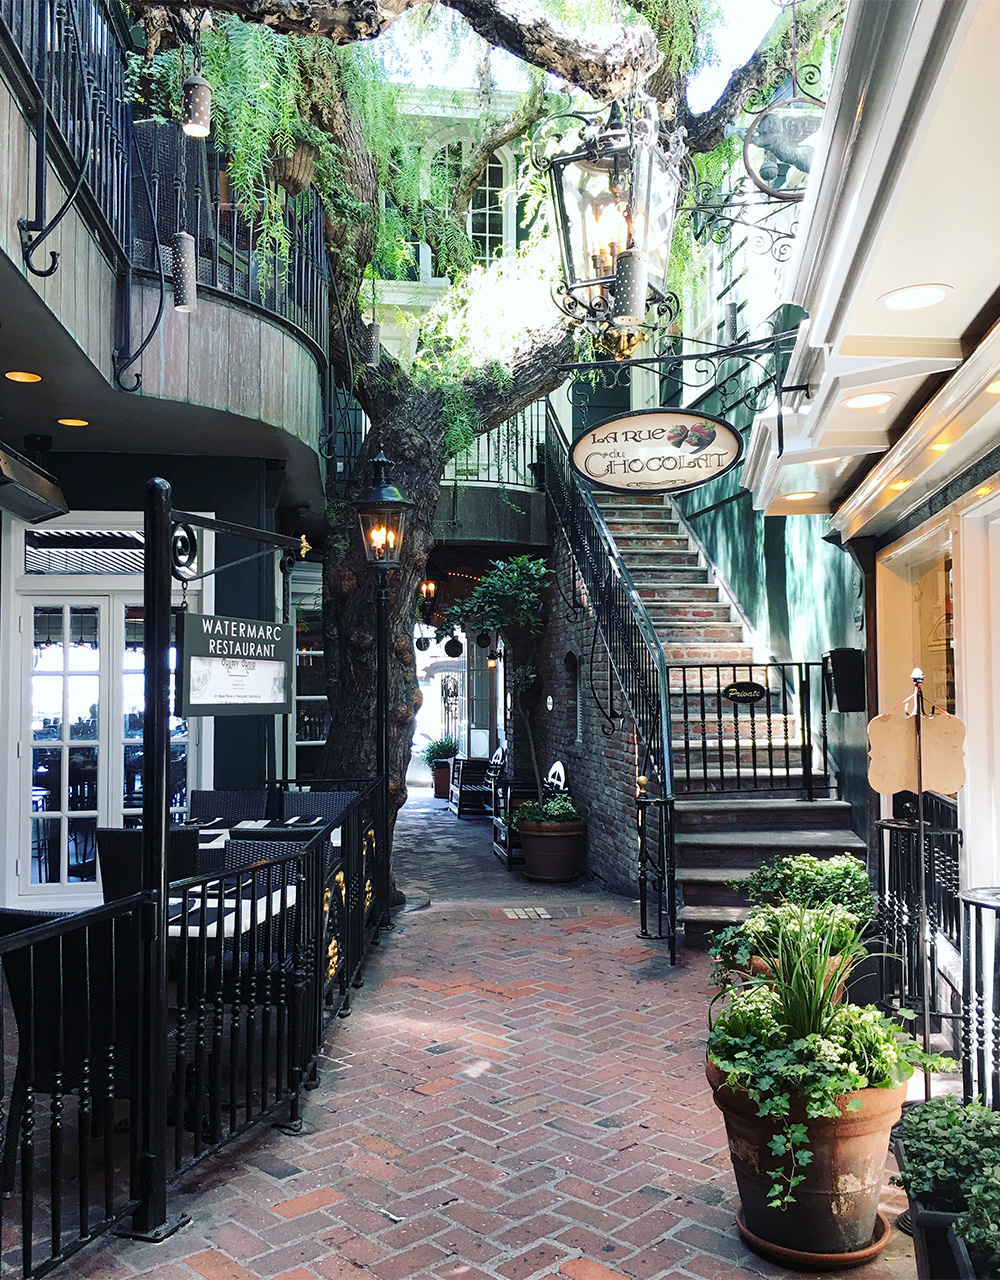
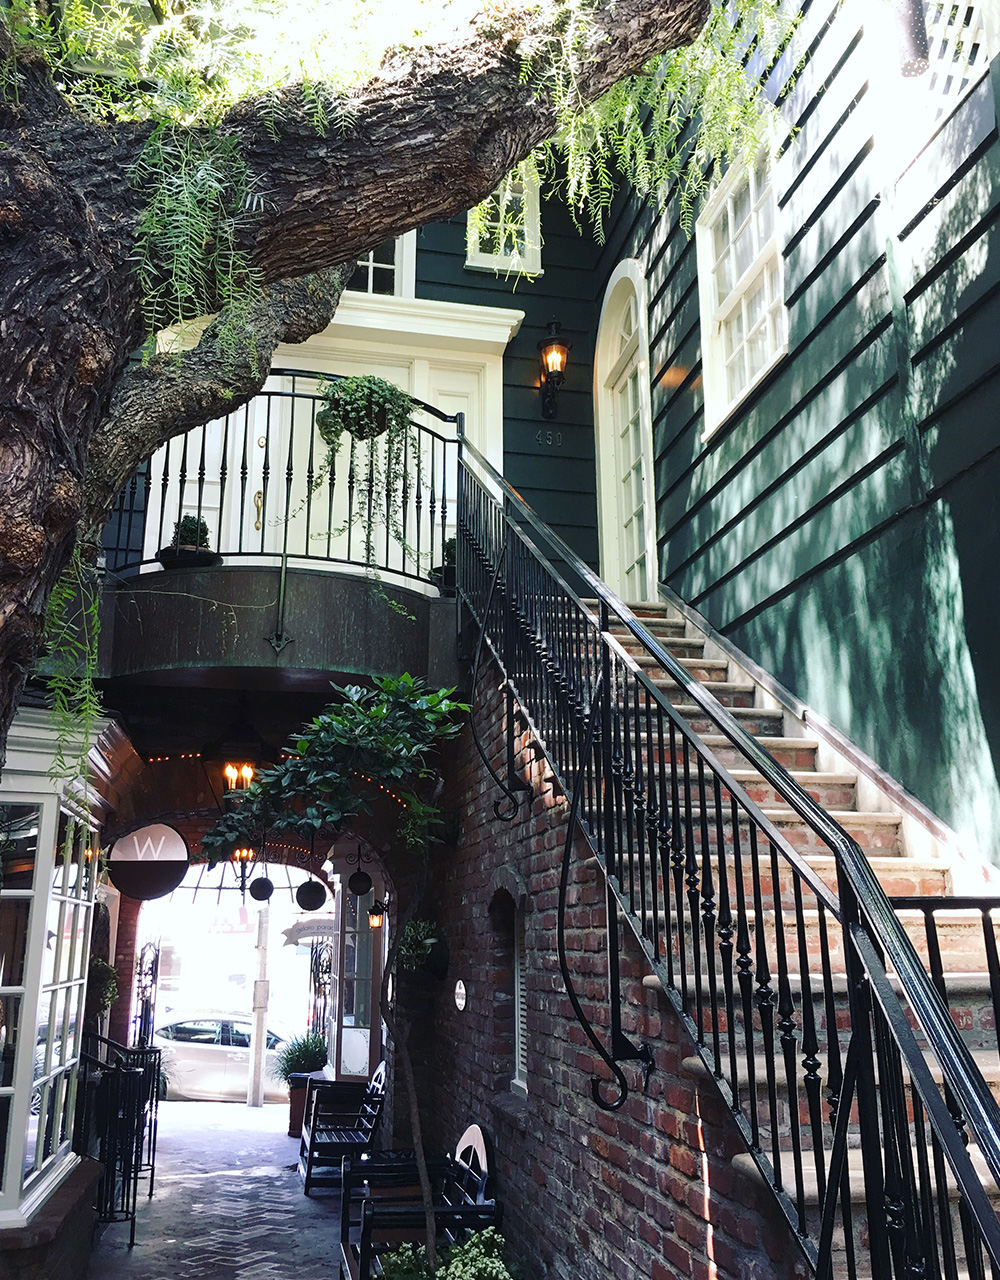
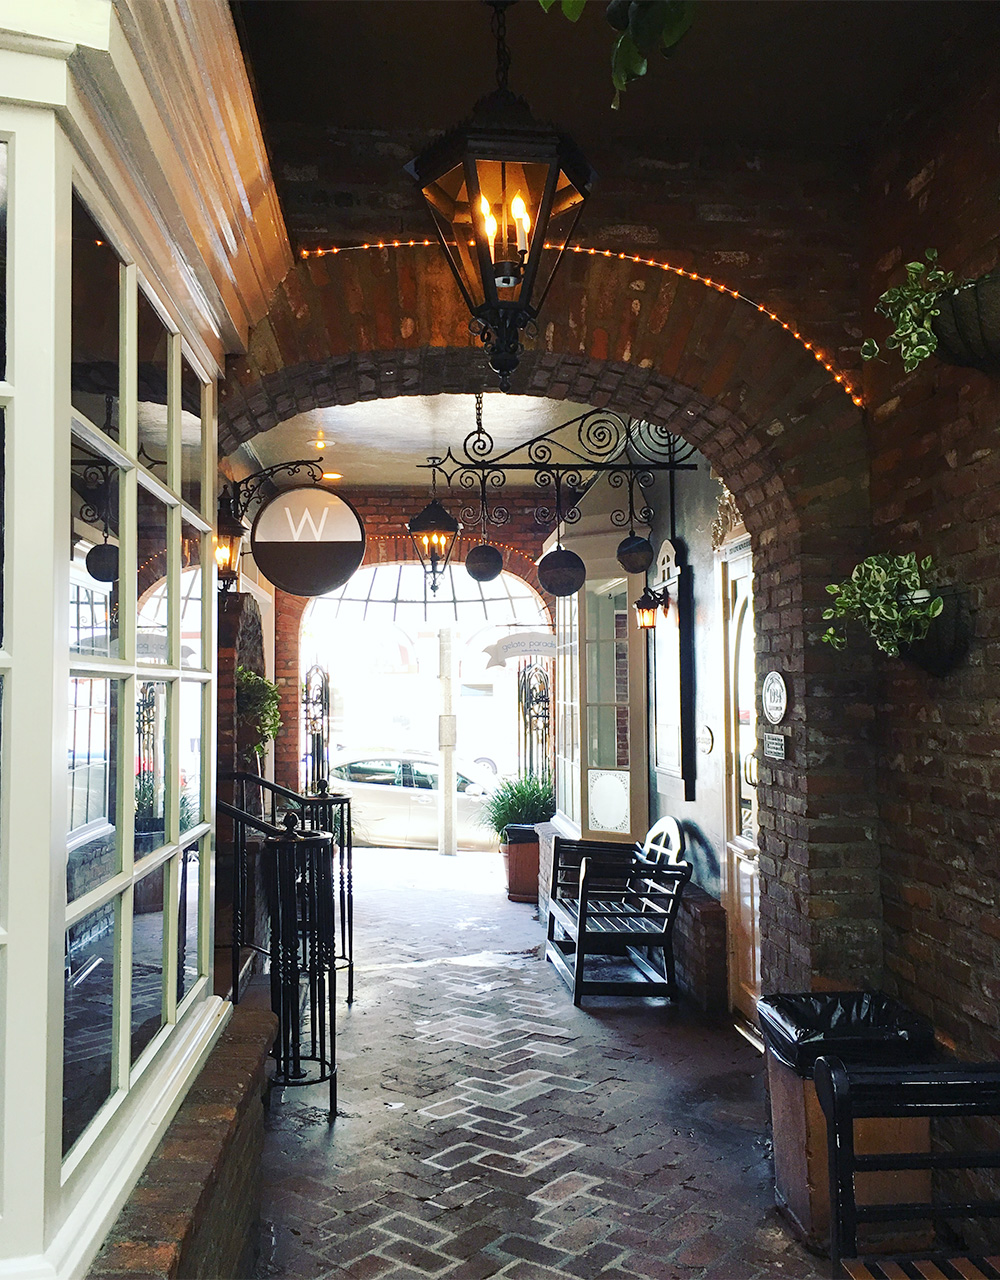
This is Peppertree Lane, a charming, historic building in North Laguna that houses a small number of shops and restaurants. According to records, the building was constructed around this majestic pepper tree in 1934 and acquired its New Orleans style in 1976. Troy and I lingered for a while here, sitting on one of the benches, soaking up the ambiance, imagining that someone on the second floor is practicing voodoo magic!
Does anybody else take their inner artist out on dates? What do you do? Do share!
Peppertree Lane, 450 South Coast Highway, Laguna Beach, CA 92651
A Mini Journal Project
A Mini Journal Project
Creating the Signatures
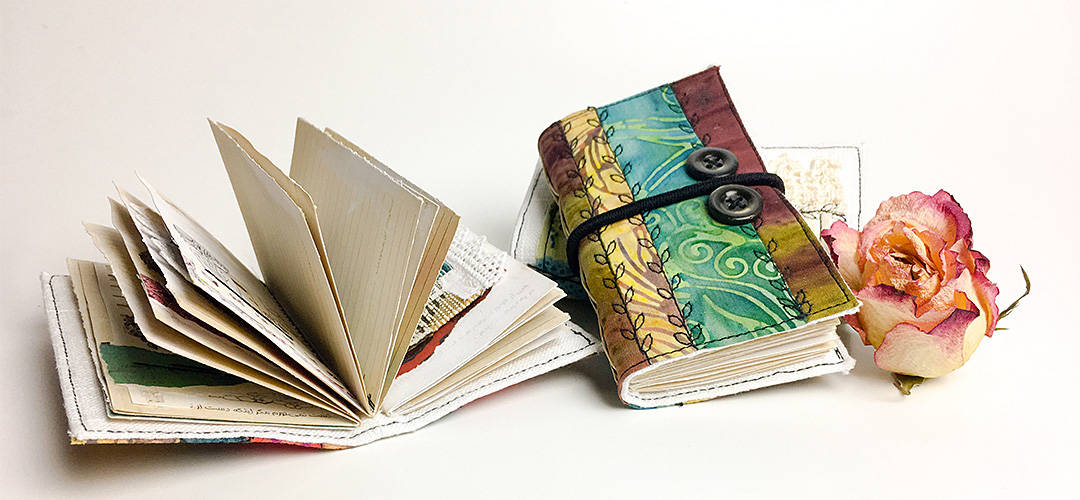
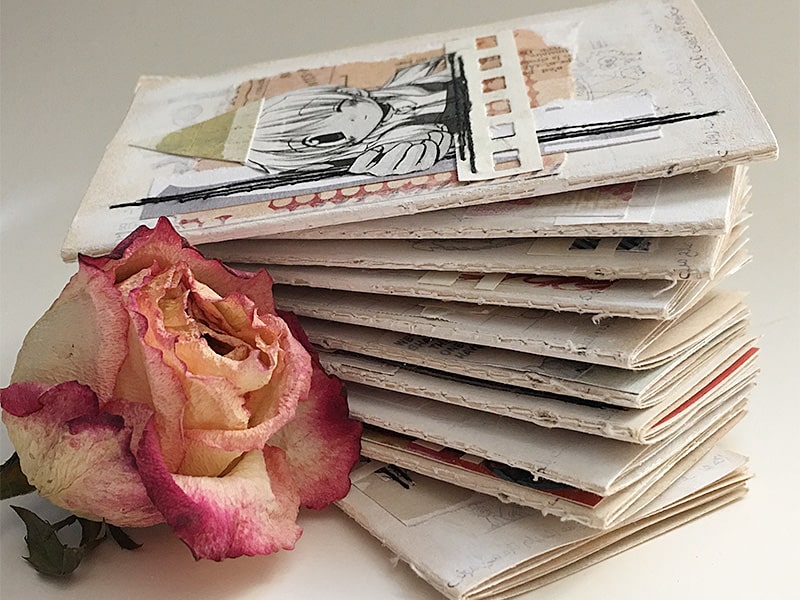
The datebook had enough pages to make at least 60 signatures. I decided to divide these signatures to make 20 mini pocket journals. Each journal will contain 3 signatures for a total of 36 pages.
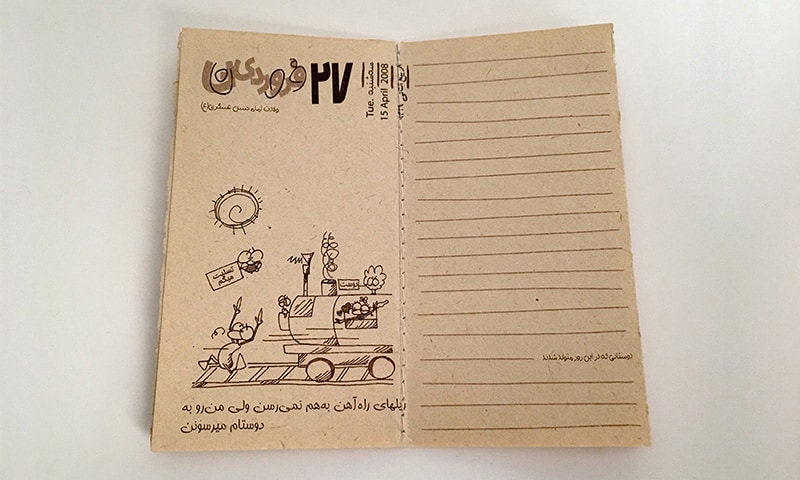
CREATING THE MINI COLLAGES
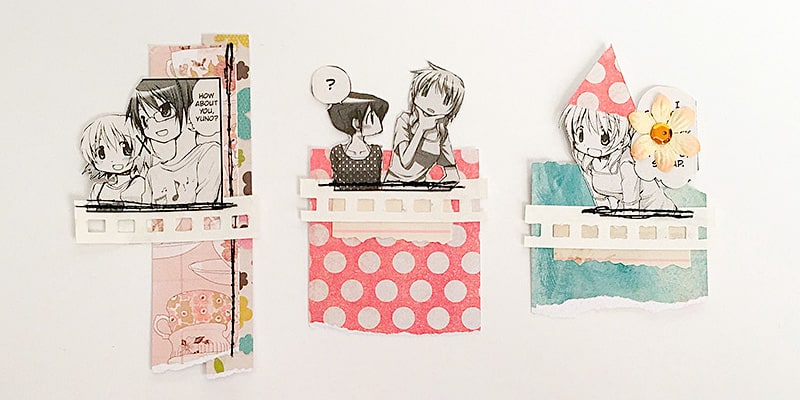
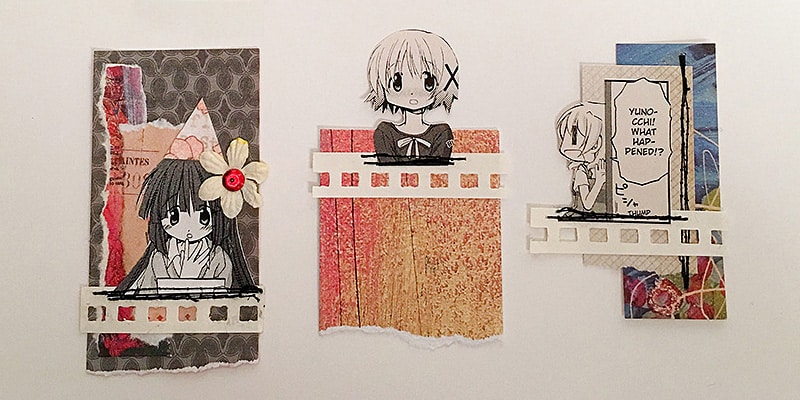
To make the journals fun and interesting, I decided to fill each illustrated page with a mini collage, taking this opportunity to use up my seemingly endless collection of small paper scraps. (Yes, I’m one of those who saves every bit of paper scraps. I’m sure most of you can relate.)
I wanted a focal point for each collage, and, when I was deciding what to use, these manga cutouts that I like to collect came to mind. You see, I like buying used manga books so I can cut out the images and use them in my personal journals. I find this a fun and easy way to add visual context to some of my journals that are otherwise simple diary entries. I keep a handful of these manga images in a tin container. These are tiny cutouts, and so I thought they would be perfect for my mini collages. The manga images I ended up using in this project are from Hidamari Sketch by Aoki Ume. Her character drawings are super adorable and the plot of the manga is interesting as well. It’s about the everyday life of a group of students who go to an art school and live in the same apartment building.
So with my manga cutouts and a bin full of small paper scraps, I went to town creating the mini collages. When I was done, I had made 360 unique pieces to fill up all 20 journals!
CREATING THE Journal Covers
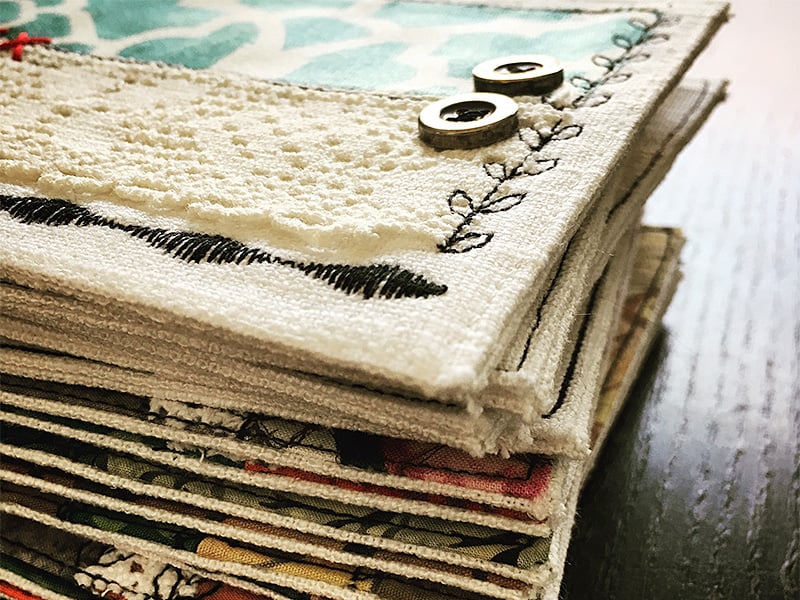
Looking for more reasons to use my fabric scraps, I decided to make signature wraps for the journals. And I’m glad I did because they add another level of interest to the journals.
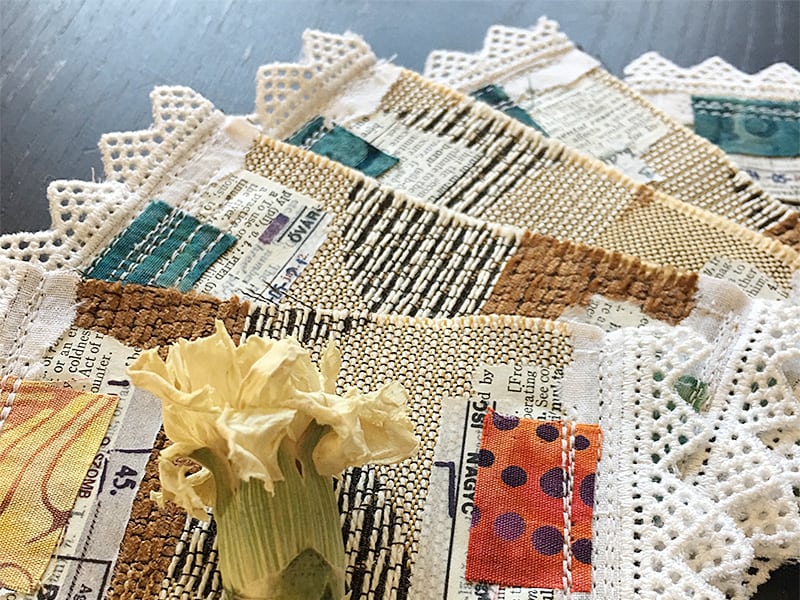
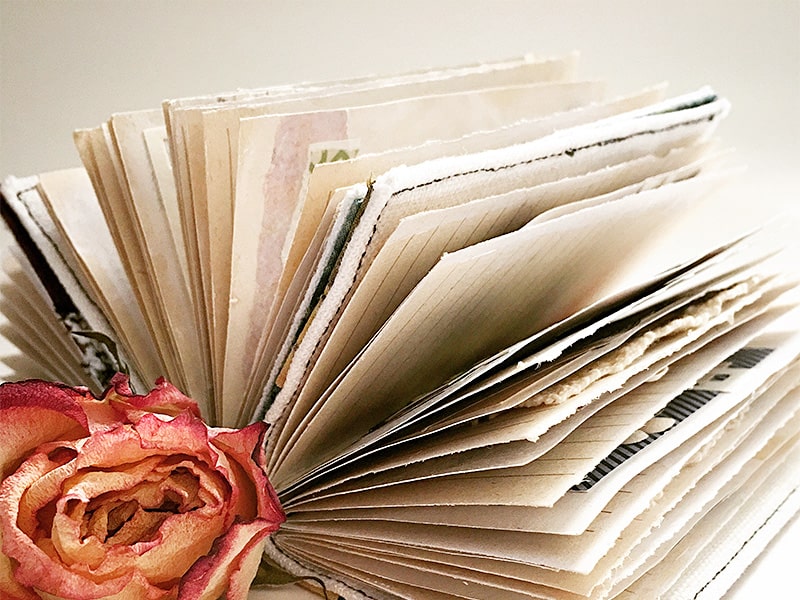
Binding THE Journals
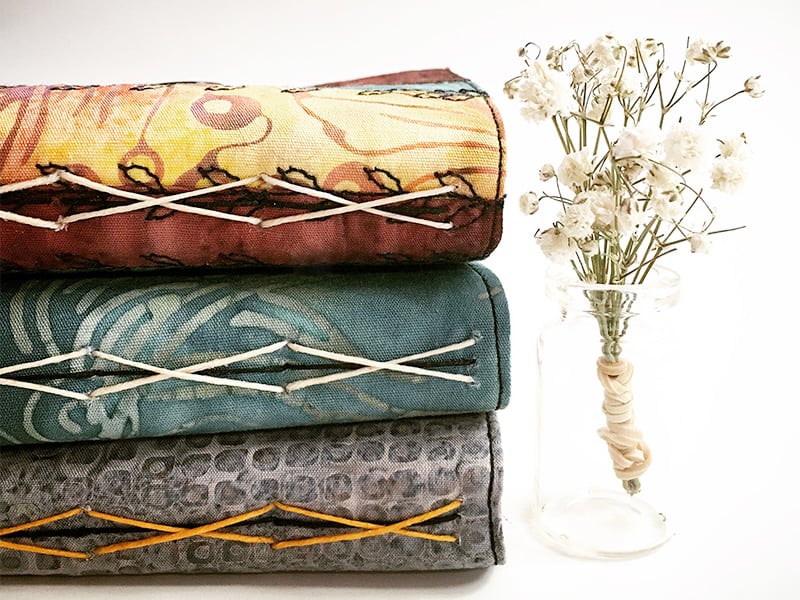
In Conclusion
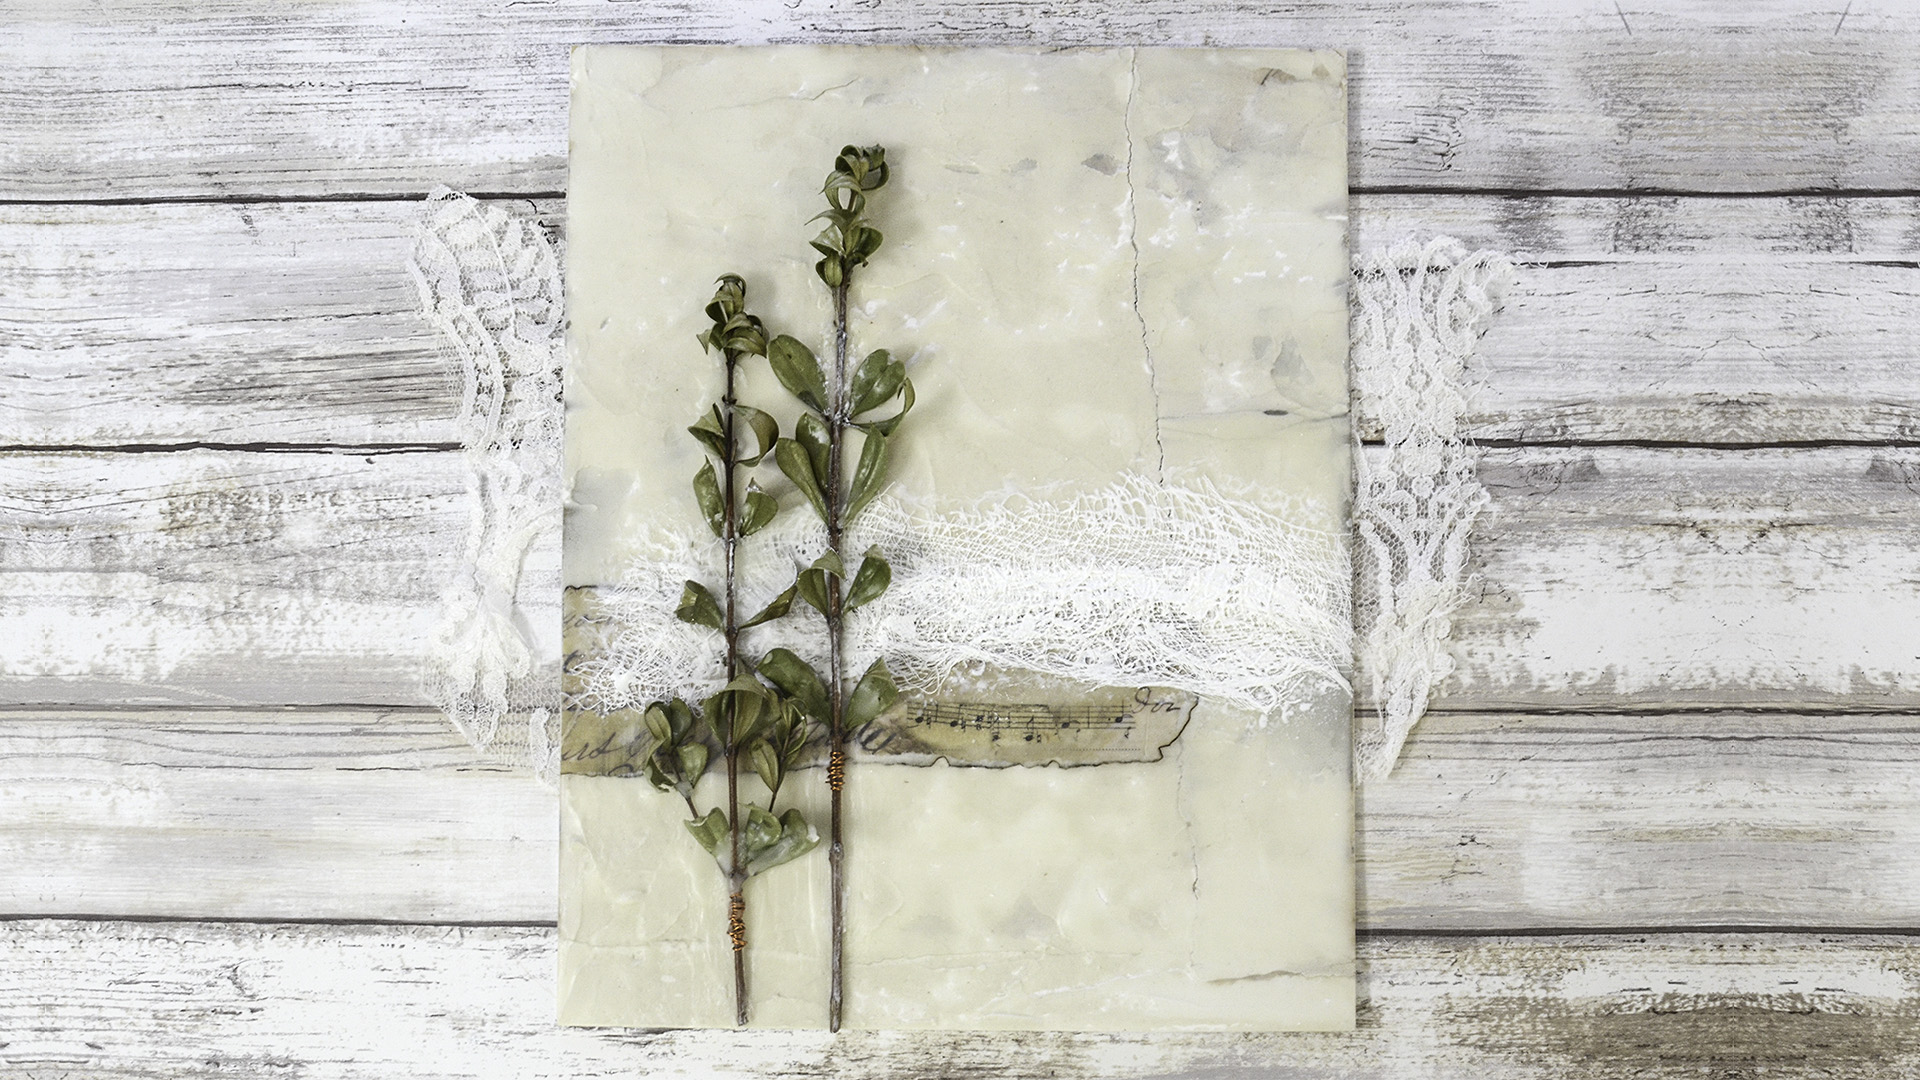
Encaustic Timelapse #2: Dried Leaves
Here is a photo of the finished piece.

I’d love to hear your thoughts. Email me your comments here.
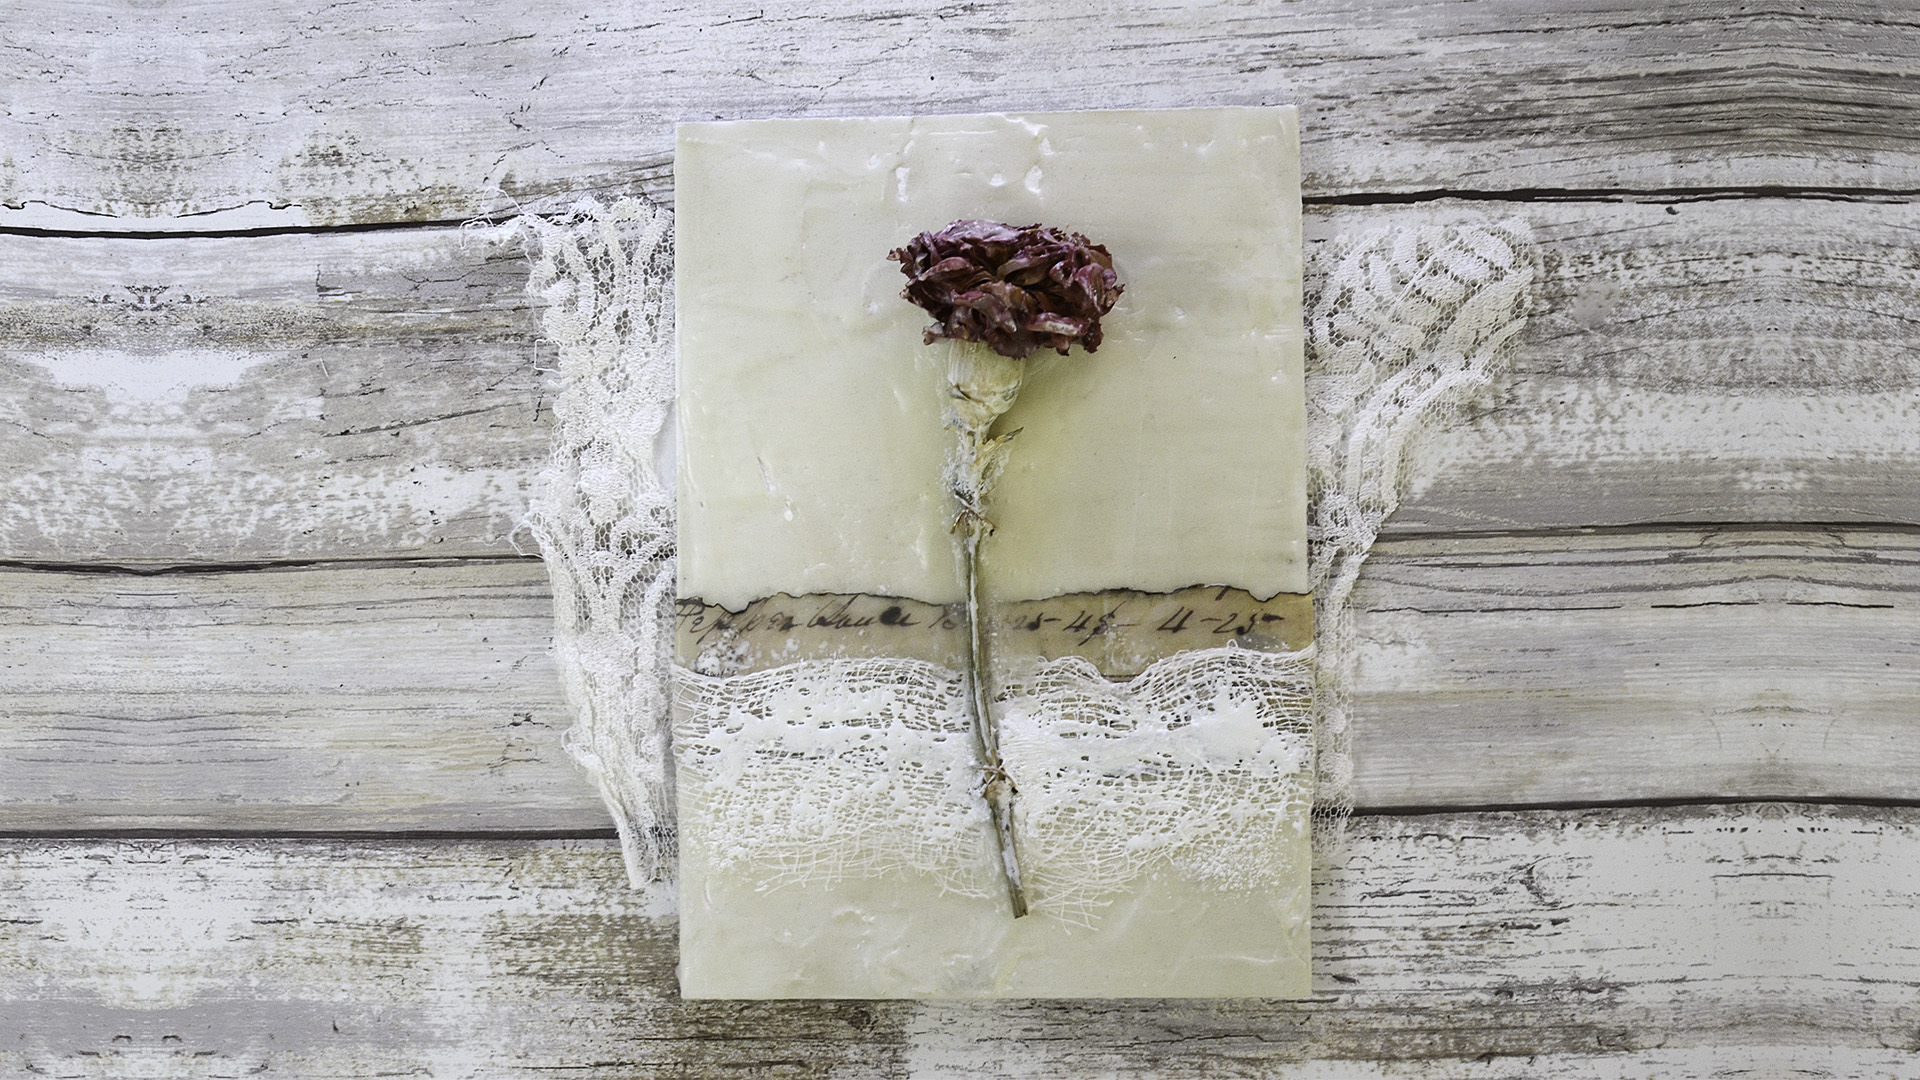
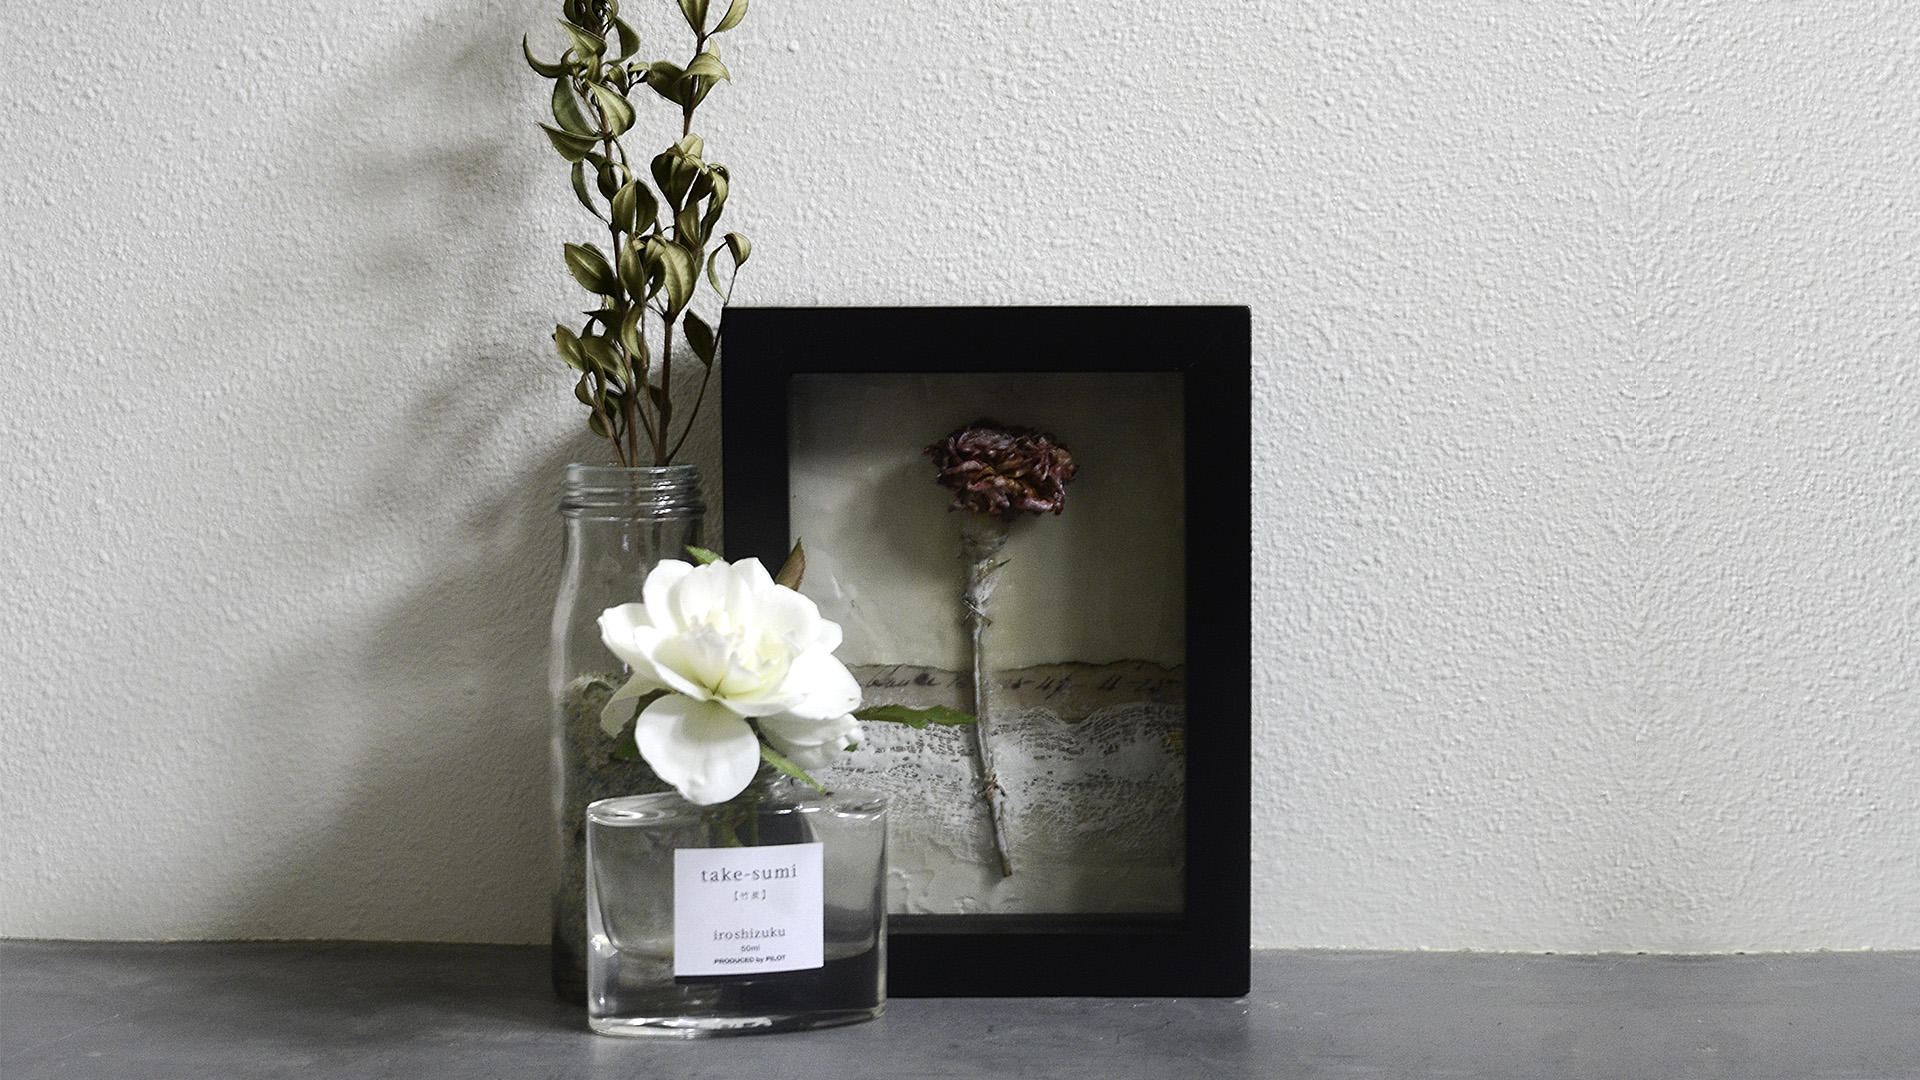
Encaustic Timelapse #1: Dried Flower
Here’s a 60-second timelapse of today’s encaustic piece. I covered my substrate with drywall compound and used dried flower submerged in wax as the focal point.
Here are some photos of the finished piece.

I’d love to hear your thoughts. Email me your comments here.
How to Make Encaustic Medium
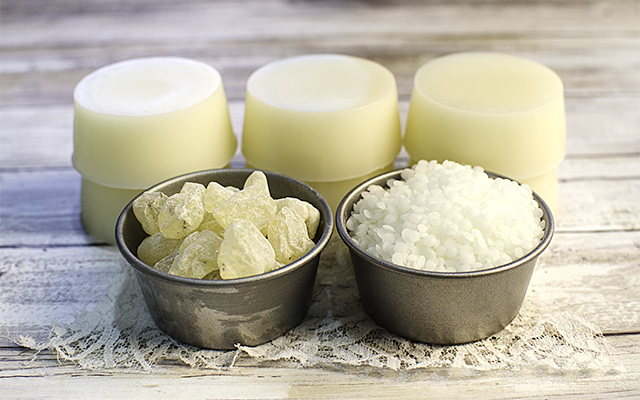
Encaustic medium, often simply referred to as wax, is a combination of beeswax and damar resin. When pigment is added to encaustic medium, we then have encaustic paint.
encaustic medium = beeswax + damar resin
encaustic paint = beeswax + damar resin + pigment
BEESWAX
Beeswax is naturally white when secreted by bees but gradually turns yellow when it gets exposed to pollen, propolis (bee glue), and dirt. To return it to its natural color, manufacturers bleach the beeswax, either mechanically or chemically. Mechanical bleaching uses a natural filtering method to remove the color from beeswax. This is the ideal method for beeswax used in encaustic. Chemical bleaching, as the name implies, uses chemicals to mask the color. Definitely not suitable for artists because the color can later return. It also changes the composition of the beeswax, making it more reactive to pigments and pollutants.
DAMAR RESIN
Damar resin, extracted from a family of tropical trees in India and South East Asia, is added to beeswax for the following reasons:
- It raises the melting point of beeswax.
- It adds a nice shine and transluscency to beeswax.
- It prevents bloom, a white film that can occur on the surface.
- It allows the wax to cure and harden over time.
Note: Don’t confuse damar resin with damar varnish found in art supply stores. Damar varnish is actually damar resin dissolved in turpentine. Although it has been used before to make encaustic medium, it is not recommended because damar varnish is highly toxic. And since it has turpentine, it changes the consistency of the medium, making it thinner.
MAKING YOUR OWN ENCAUSTIC MEDIUM
One of the joys of encaustic for me is making my own medium and paints. Whenever I’m preparing a batch of medium, I feel like an alchemist in the middle ages transforming ordinary ingredients into something precious. And that subtle, sweet aroma of beeswax is just delightful to the senses. I like to work with a wax-to-resin ratio of 8:1 (8 parts beeswax to 1 part damar resin, measured by weight). If you want a glossier and harder medium, you can increase the amount of damar resin in your mixture. A popular blend with a higher percentage of resin is 1 part resin for every 4.5 parts beeswax. Just beware that using too much resin in your mixture may cause your art to become too brittle. Alternatively, not having enough damar resin in your mixture will have negligible effect on your wax. If you want to experiment, I suggest working within the wax-to-resin ratio range of 4:1 and 10:1.
The following recipe is what I used in the video below and will make enough medium to fit a 6-cup muffin pan. Cooking time is about 30 minutes.
Ingredients:
16 oz white beeswax (mechanically-filtered)
2 oz damar resin
Tools and Equipments:
electric skillet
clip-on dial thermometer
wooden spoon or paint stirrer
heated palette or electric griddle
pot for filtering
muslin, old cotton shirt, or any tight-weave fabric (enough to cover the pot for filtering)
4 small binder clips
ladle
silicone muffin pan or mini brownie mold
Instructions:
1. Attach the thermometer to the electric skillet.
2. Put half of the beeswax in the skillet ans spread it around to cover the bottom. Set the temperature to 160°F and let the beeswax slowly melt.
3. When the beeswax has melted, add the damar resin and spread it out using a wooden spoon or paint stirrer.
4. Increase the temperature to 180°F. The resin will slowly melt into a thick, gummy consistency. Use the paint stirrer to occasionally lift any resin that sticks to the bottom and to mix the wax and resin together.
5. Once the resin is dissolved, add the rest of the beeswax.
6. While waiting for the wax to melt, prepare the pot for filtering by keeping it warm on the griddle set at 180-200°F.
7. When the wax and resin have completely melted, give the mixture a good stir.
8. Now it is time to filter the medium to remove any debris that came with the damar resin. Use a piece of muslin large enough to cover the pot. Place it on top of the pot, creating a recess so the wax can pool on top while it is being filtered. Use small binder clips to secure the paper towel to the pot.
9. Transfer the medium to the pot using a ladle.
10. Pour the filtered medium in the silicone muffin pan. Allow 30-45 minutes for the medium to solidify before taking it out.
Notes:
* Any heated container can be used to cook your medium, as long as it has an adjustable temperature and it is large enough to hold the amount of medium you are preparing. Keep in mind that once you use an equipment for encaustic, you can’t use it anymore for food.
* If you don’t have a silicone mold, you can use an aluminum baking mold. Simply wait another 6-12 hours for the medium to shrink away from the edges of the mold. Then turn the mold over on a clean surface, give it a tap, and the medium should come right out. If you’re using a baking tray, you can cut the medium in squares using a butter knife when the medium has started to set but is still pliable.
VIDEO TUTORIAL
Note: This video is from my YouTube channel and makes references to the YouTube user interface screen.

I’d love to hear your thoughts. Email me your comments here.
Encaustic Materials: Brushes
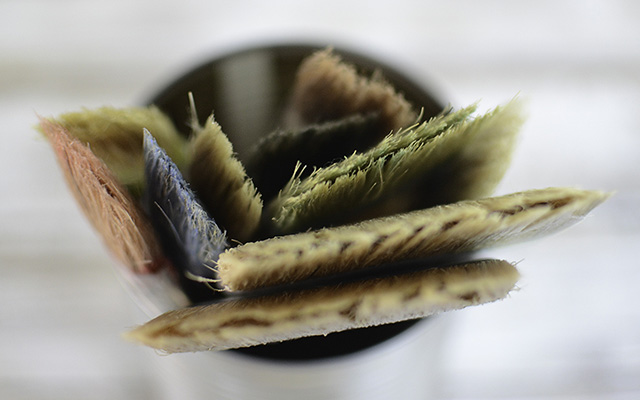
For encaustic work, it is important that you only use natural-bristle brushes. The bristles of synthetic brushes may melt when subjected to heat.
BRUSH OPTIONS
Chip Brushes – Chip brushes from the hardware store are affordable and come in a variety of widths, ranging from 1” to 4”. These are the brushes I started with and continue to use. Because they are inexpensive, I have a brush dedicated to each color family I use for minimal cleaning. If you are on a budget, these are definitely the brushes to buy. I also find their short handles convenient since they don’t stick out too much when they are resting on the griddle.
Hake Brushes – Hake is an Asian-style brush with a long flat handle and usually made of goat or sheep hair. It has smoother bristles compared to chip brushes and apply paint more evenly on a surface. It comes in several different widths and the wider brushes work well in covering large areas with medium or paint. Although usually more expensive, the one I use is comparatively inexpensive. You can purchase the same ones here.
In the video below, I demonstrated how the chip and hake brushes apply encaustic paint so you can see the difference.
Round Brush – It is a good idea to have at least one to use for detailed work. The one I use is a 6mm round brush.
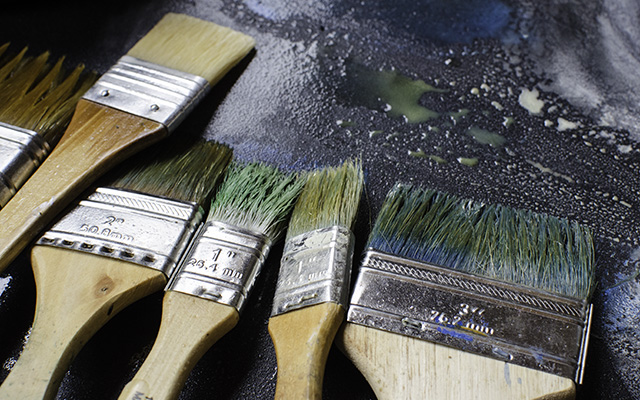
DEALING WITH FALLEN BRISTLES
It is common for bristles to fall out of brushes and get embedded in your painting. When this happens, simply pick the bristles out with a dental tool or the edge of a blade and gently fuse over the affected area to smooth it out.
CLEANING YOUR BRUSHES
One of the many things I love about encaustic is you don’t have to clean your brushes too often. Just warm a used brush on your encaustic palette and it’s ready to use. When you’re done, let it cool down and it’s ready to be stored away. When you do have to clean a brush, it’s very easy to do. You can use either paraffin or soy wax to clean your brushes and palette. Paraffin is made from petroleum while soy wax is made from soybeans. Since soy wax is more sustainable and eco-friendly, it is the better choice of the two.
To clean your brush, just wipe off any excess paint from the brush on a paper towel. Rinse the brush in soy wax and wipe off the wax with a paper towel. Repeat rinsing until no more paint transfers. You’ll find a demonstration in the video below.
VIDEO TUTORIAL
Note: This video is from my YouTube channel and makes references to the YouTube user interface screen.

I’d love to hear your thoughts. Email me your comments here.
Encaustic Materials: The Heated Palette
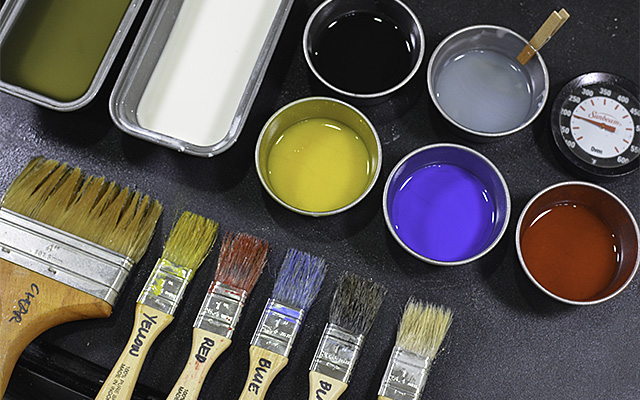
A heated palette is used to melt encaustic medium and paints and keep them in their molten state when painting. It is also used to warm brushes and other tools. An electric griddle is well-suited for this purpose. Choose one that has a smooth surface so you can melt and mix paint directly on the surface. The griddle I use has a large working surface area (19″ x 15”) which I love. It also has a raised plastic edge which makes a perfect brush holder preventing the handles from getting hot. You can buy the same griddle here. If you’re on a budget, you may want to check craigslist or your local thrift store for a used one.
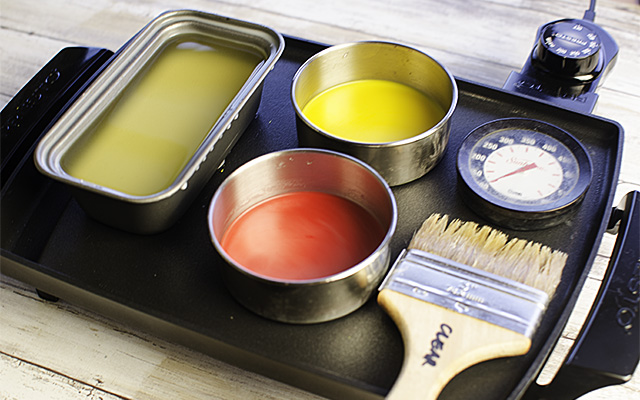
If you have limited space, this is a good alternative. With a working surface area of 10.5″ x 8.5”, it’s very compact and won’t use up too much space on your work table. This is particularly ideal if you’re only using encaustic medium or your color palette is limited to just 1 or 2 colors. Be careful with this one though. It doesn’t have a plastic edge at all so when you rest your brush on it, the handle does get hot.
If you’re willing to spend a lot of money, R&F makes anodized aluminum hot plates designed specifically for encaustic use. The neutral-colored surface allows you to see true colors when mixing paints directly on the palette (which is difficult to do on an electric griddle’s black surface). I’ve been considering buying the R&F hot plate but, in reality, I’m quite satisfied with my electric griddle. Presently, I can’t justify spending $300 on a 16×16 hot plate.
EQUIPPING YOUR PALETTE
Flat Thermometer – It’s important not to overheat the wax, so maintain your palette at a safe working temperature of 200°F and pair your griddle with a flat thermometer so you can accurately monitor the surface temperature.
Paint Cups – You need paint cups to melt and hold the paints in. Any flat-bottom metal container will work, like muffin cups and mini loaf pans.
Spring Metal Clamps – Use spring metal clamps with plastic handles to move your paint cups around and get them off the palette. Just be careful when you do this since these handles are sometimes unstable and may lead to spills.
EXTENDING YOUR PALETTE
Electric Skillet – An electric skillet is handy for melting large volumes of encaustic medium and making your own medium. It is particularly useful when you’re working on large panels. You can buy the same one I use here. Again, you may want to check your local thrift store before buying a new one.
Clip-on Thermometer – Always equip your electric skillet with a clip-on thermometer for accurate temperature control.
VIDEO TUTORIAL
Note: This video is from my YouTube channel and makes references to the YouTube user interface screen.

I’d love to hear your thoughts. Email me your comments here.
A Guide to Encaustic Materials
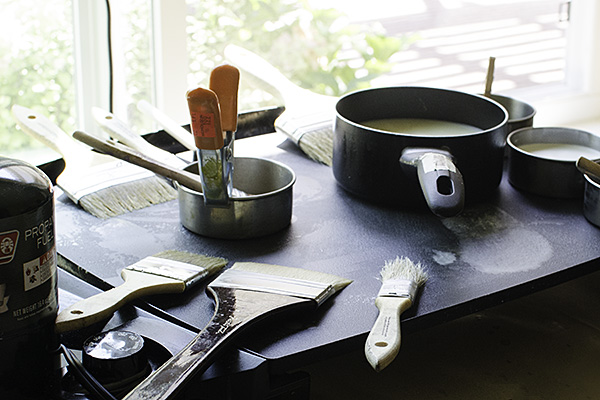
Encaustic is a wax-based paint you apply hot to a surface and then reheated to fuse the paint. It is a versatile medium which can be worked on smooth or textured and can even be combined with a lot of other media.
If you’re interested in encaustic but have never worked with it before, I suggest you take a live class, if possible. This way you can try out the medium and decide whether it’s something you want to pursue before spending money on tools and supplies. If you live in Southern California, I offer private tutorials in my studio in Orange County.
When you’re ready to move forward, this guide will help you get started on materials and setting up your studio. (Each item below includes a link to a blog post that discusses that item in detail.)
BASIC ENCAUSTIC SUPPLIES
The following are the essential consumable supplies you’ll need to start working with encaustic:
- encaustic medium – learn more
- encaustic paint – learn more
- substrate – more info coming soon
BASIC ENCAUSTIC TOOLS AND EQUIPMENTS
The following are the essential tools and equipments you’ll need to start working with encaustic:
- heated palette – used to melt encaustic paint and warm brushes | learn more
- flat thermometer – used to accurately monitor the surface temperature of your palette | learn more
- paint cups – flat-bottom metal containers used on the heated palette to melt and hold paint in | learn more
- natural-bristle brushes – learn more
- fusing tool – blowtorch or heat gun | more info coming soon
- scraping and mark-making tools – single-edge blades, ceramic tools (buy here), printmaking tools, etc. Explore kitchen and home improvement items for their possibility as mark-making tools.
MISCELLANEOUS MATERIALS
The following are indispensable in the studio:
- nitrile gloves
- blue painter’s tape
- paper towels
- utility knife
- wax paper
EXPANDING YOUR SUPPLIES
The following are not necessary to start with but are very useful to have:
- electric skillet – for melting large volumes of encaustic medium and making your own medium | learn more
- candy thermometer – for use with the electric skillet | learn more
ENCAUSTIC STUDIO ENVIRONMENT
The following are some guidelines for your work environment:
- Make sure your worktable has enough space for your heated palette, the project you’re working on, and additional materials like your torch or heat gun and other miscellaneous items.
- Make sure you have proper ventilation to draw out the fumes that hot wax releases and that your workspace has an open window or door where fresh air can come in.
- Make sure you have sufficient electric outlets and power supply since you may need to have a few different tools and equipments plugged in at the same time.
- Keep a fire extinguisher within arm’s reach at all times.

I’d love to hear your thoughts. Email me your comments here.
