Choosing the Right Book for a Book Sculpture Project
If you want to make your own book sculpture, here are some pointers to help you find the right book to use.
Book Size — You can use any size of book you want. I usually work with books ranging in size from 8″ x 11″ to 9″ x 12″. Hardcover fiction books generally fall in this size range. I may go smaller if I want to make mini keepsakes but I wouldn’t go any bigger. As the pages get wider, the depth of the book sculpture also increases. This may not be a problem if you’re displaying the book sculpture on a shelf or table top. But if you’re going to hang it on a wall, too much depth may become too awkward. But feel free to experiment! :)
Hardcover Types — When choosing a book to use, be mindful of the color of the hardcover and whether it is a solid color or two-toned. The hard cover acts as a visual frame for the book sculpture so it is important not to overlook this.

This are examples of two-toned hardcover books.
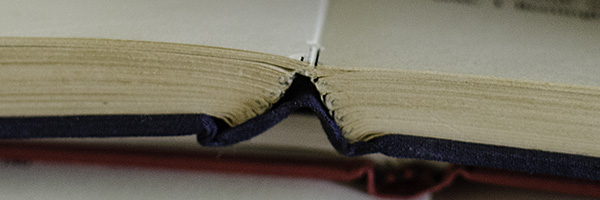
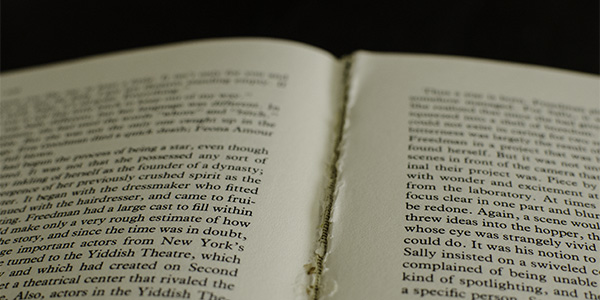
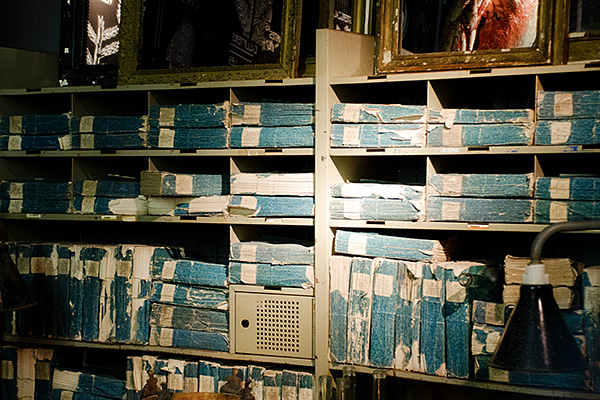
Book Binding — There are two kinds of book binding: sewn and glued. Books with glued binding are perfect for all the book sculpture projects. Some sewn-bound books are reinforced with glue and I often use this as well. Books that are simply sewn-bound are not really ideal to use. The pages in the signatures are not uniform in width and will not create consistent folds. (A signature, by the way, is a group of pages.) And since the pages are not glued to the spine, when you cut the pages, the narrow cut pages tend to become loose or wobbly — and it runs the risk of separating from the book.
In sewn-bound books, you’ll see the signatures along the spine.
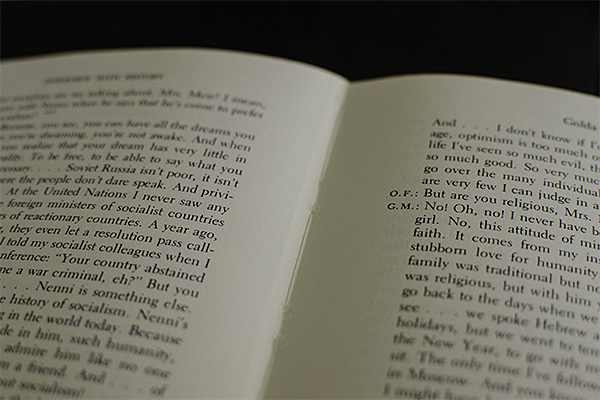
If you look in the middle of the signatures in sewn-bound books, you’ll see the thread.
In other areas of the signature, still along the spine, you’ll see the notches where the thread is sewn.
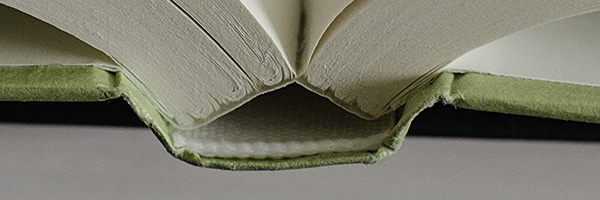
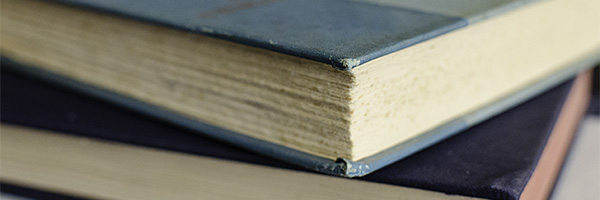
This is an example of glued binding.
This is what glued binding looks like along the spine.
Use books that have strong binding, not books with pages that are falling apart. This should be obvious, but sometimes you have to double check by stretching the pages along the spine to make sure the glue on the spine is not brittle. If it is brittle, the book pages will most likely fall apart once you start folding. I’ve had a few experiences where I was almost done with the book sculptures when the folded pages started falling apart. If a whole block of pages comes off, it is easily remedied by applying hot glue along the spine. If individual pages start falling off one after the other, then it is more of a pain to fix — and often times, I just abandon that particular project.
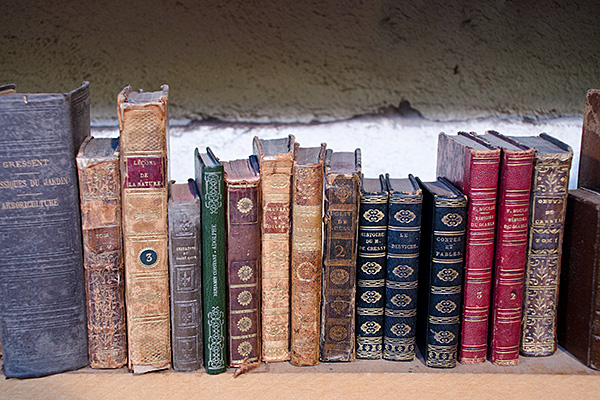
Paper Thickness — Stay away from dictionary-thin pages. The thicker the page, the better — as long as it is still paperweight. It gives good volume and makes the book sculpture sturdy. Some old books have cardstock-weight pages. In my opinion, these pages are too thick to allow for any adjustments when folding. You’ll figure out the paper thickness you’re comfortable with as you start exploring different kinds of books.
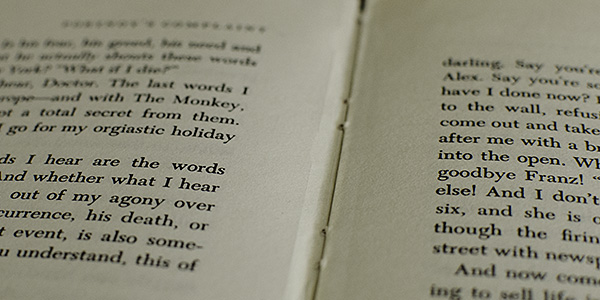
Cracked Spines — Aside from indulging our creative impulses and producing artwork, a major objective of altered book art is to recycle and reuse old books that nobody wants to keep anymore. With this in mind, don’t easily dismiss books with cracks along the spine (as shown in the photo below). A lot of them are surprisingly still usable. The important thing is that the pages aren’t falling apart. You’ll be able to hide any cracks and gaps along the spine once the pages have been folded. And you’ll feel good knowing that you rescued a seemingly broken book from being thrown in a landfill.
Deckled Edges — I love books with deckled edges (as shown in the photo below) but they are not suitable for book sculptures because, with the uneven edges, it will be challenging to keep your folds consistent.
Non-fiction Books — I love using nonfiction books. I find that a lot of them have thicker paper than most fiction books, especially when compared to romance novel books. And they usually have a simple black hardcover, which I like. Some fiction books have glossy photo inserts like in the photo below. I don’t like mixing them with the other pages so I just tear them out from the book and I’m good to go. But feel free to include them, they will definitely add interest.

Where to Find Used Books
Now that you know what types of books to use for your book sculpture projects, it’s time to stock up on them. My favorite place to get used books is my local library bookstore. I usually get the books for $1 each. And a lot of times, I will find a few books I can use in the “free pile”. So if you haven’t visited your local library bookstore yet, now is the time to do so. You can also check out thrift stores and used bookstores if you’re not having any luck in your local library.

I’d love to hear your thoughts. Email me your comments here.
Kusudama Flower Tutorial
Kusudama Origami is a type of Japanese paper folding. It involves folding several sheets of paper into identical modules. These modules are then assembled together to form a spherical structure. A completed kusudama ball usually consists of 60 paper modules. It was traditionally scented with incense or potpourri and used in Ancient Japan for medicinal purposes. Nowadays, it is simply used for decoration and makes a wonderful gift.
I suggest you watch the video at least once before starting on the project so you get a full picture of what is involved. When you’re ready to make one, remember not to stress. The project should be fun, relaxing, and even meditative! If you can’t finish it in one sitting, don’t fret about it. Set it aside, go about your other businesses, and pick it up once more when you’re ready to work on it again. Have fun with it!
I’d love to hear your thoughts. Email me your comments here.
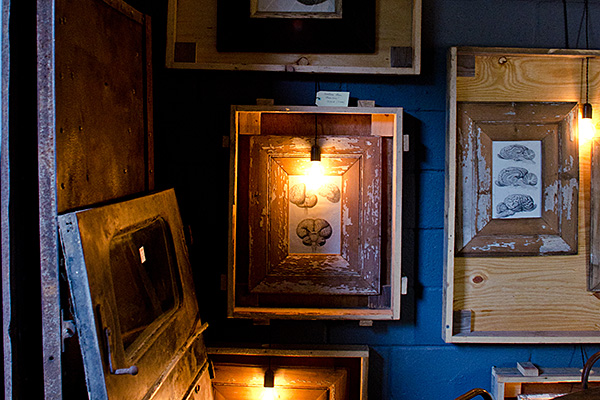
Behind the Scenes
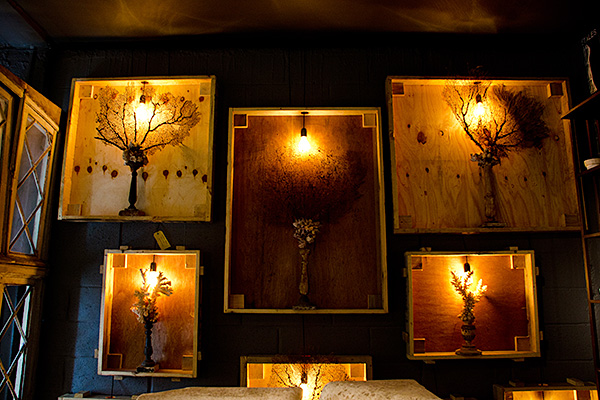
While it’s been bitterly cold and snowing like crazy outside this past week, I stayed warm beside my griddle palette and kept busy creating new encaustic mixed media paintings in the studio. As much as I dislike the frigid temperature, winter is the best season for me to work with encaustics – and I’ve come to love that odd sensation I get when cold air from the open window mixes with the warm heat emanating from the griddle. (I have to open the window for ventilation.)
A lot of you have been curious about the process and setup involved with working with encaustics – so while I was waiting for some fused on wax to cool down, I took some snapshots so you can take a look (more of a peek really) at what’s on my worktable.
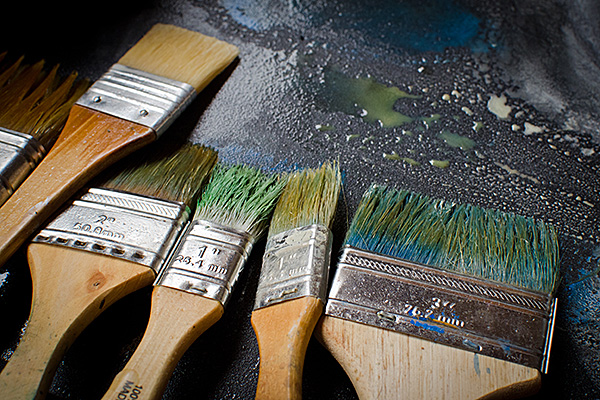
Here are some brushes that are kept warm on the griddle which I use as my palette and where I melt my wax. I use tin cans to hold melted wax, but I often mix colors straight on the griddle surface – which is sometimes a challenge because the surface is black so it’s hard to see the color straightaway.
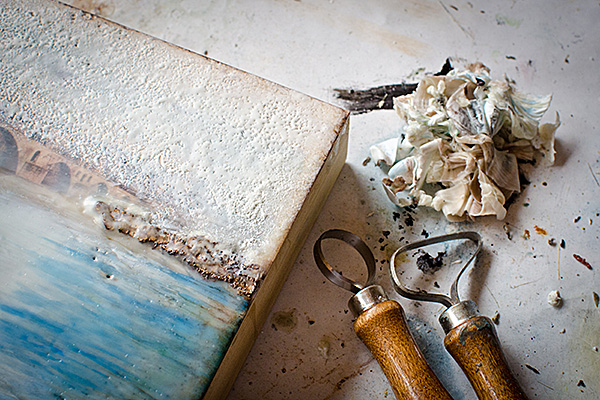
Here you can see one of the paintings that I was working on. I have several pottery tools that I use for scraping off wax. And I line my work surface with freezer paper to keep the table clean.
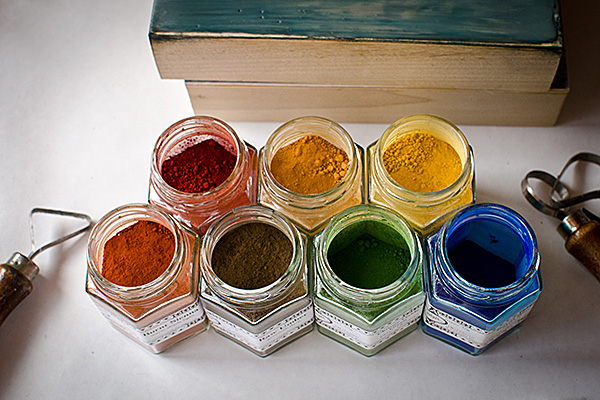
Here are some natural dry pigments I use to color the wax. (Of course, I keep the jars tightly closed and only opened them like this to show you the gorgeous colors.)
I’ve also started filming for some online workshops that I’ll be offering soon. I’m really excited about that and deathly nervous since videos are way out of my comfort zone.
And I’m doing all these while I continue to homeschool my lovely youngest daughter who is growing up to be very witty and smart like her sister. (No wonder I drink a lot of coffee!)
How about you? What keeps you busy this winter?
 |
Review of 2012: An Incredibly Wonderful Year
I’ve always been a very creative and artistic person. Anyone who has known me since childhood can attest to that. That’s why I became an architect – it was a good compromise between art and science. (And the science part, my parents would insist, was important because many believed that you can’t live on art alone.) Yet, I wasn’t satisfied. It didn’t feel fulfilling. I’ve since then wandered on a path of self-discovery until I made a bold and brave decision to focus on art alone as a life career. It was a great leap of courage – since, first of all, I needed to have a good grasp of who I am and genuinely believe in what I’m capable of doing before I can expect others to believe in my work. The year 2012 was the first year I seriously promoted myself as an artist. It was bone-chilling scary – to put art I have created from the soul out there for the world to see and judge. Fortunately and quite surprisingly, my works were well received by the public from the start. And for this I’m very grateful. Career-wise, it is a whole new industry for me and I still have a lot to learn in terms of the best ways to promote and market my art but I think I’m off to a good start. And I truly believe I am now doing what I’m born to do – and it is indeed very exciting!

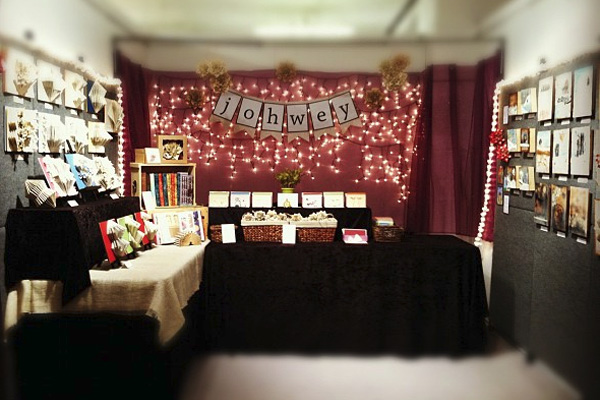
2012 Art Exhibit at Wired Cafe in Rockford, IL
So here are some highlights of my activities in 2012:
Midwestern Exhibit at the Rockford Art Museum
This biennial juried exhibition surveys the breadth and depth of contemporary art in the Midwest. The 2012 show marked its 72nd presentation. Out of 674 works that were submitted by Midwest artists, 109 pieces were selected for the exhibit, including my encaustic painting.
Gallery Exhibits in California and New York
I can’t express enough how exciting it was to be included in a few internationally juried gallery shows in California and New York, including the Group Art Show at Gallery 207 in Santa Ana, CA (where out of 130 artists that applied, only 10 were selected to participate), ‘Works on Paper’ Exhibit at Jeffrey Leder Gallery in New York, and the ‘Paperworks 2012’ Exhibit at B.J. Spoke Gallery in New York.
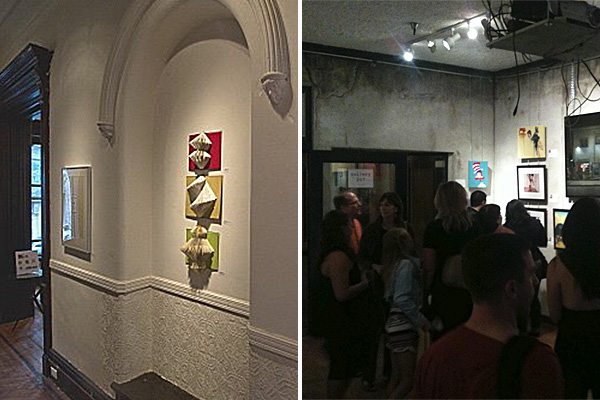
Exhibit at the Jeffrey Leder Gallery in New York (left) and Group Art Show at Gallery 207 in California (right)
Indoor and Outdoor Art Shows
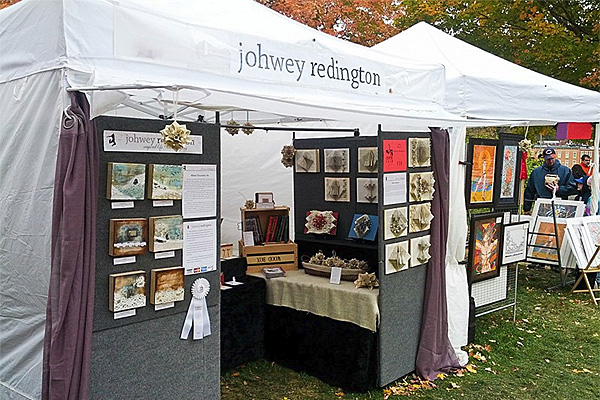
Aside from gallery and museum exhibits, I also participated in a few major juried outdoor art shows in northern Illinois (each with more than 100 participating artists) and received an award for each show.
|
2012 Galena Art Fair in Galena, IL
I capped off the year by participating in the One of a Kind Show at the Merchandise Mart in Chicago, IL where 600 of the best artists in the U.S. and Canada exhibited their high-end arts and crafts.
2012 One of a Kind Show in Chicago, IL
2012 One of a Kind Show in Chicago, IL
Some of my works were also published in Somerset Magazine and Art Portfolio Magazine and I received invitations to be included in two book publications. Unfortunately I declined the book publications since I was already overwhelmed with everything else that was going on. Hopefully this year I’ll learn to manage my time better. (If you will also remember, I’m still homeschooling my youngest daughter.) Oh and lastly, I was approached by a few art managers – but I’m also not ready for that yet.
Anyways, thanks so much to everybody who has supported me and continue to support me – by reading my blog, visiting my shows, buying my artwork. I feel really blessed. A special thanks to my husband Troy because I definitely cannot do the things I do without his encouragement and support.
As for 2013, I have a lot of exciting things planned for you. Stay tuned!
|
Here’s to a new year filled with everything wonderful!
I hope all of you had a wonderful Christmas and New Year celebration! Mine was a blast as Troy, Mica, Rinoa, and I spent the holidays with my brother and his family in Gig Harbor, WA where I also met the coolest group of Filipinos in the Pacific Northwest! Not only was I able to visit my family, but as you can see from the photos below, I got to hang out with these friendly and amazing Filipinos who love to party (No surprise there!) and their adorable but very restless kids who quickly became Rinoa’s new playmates. (Of course, Mica was bummed that there was no one in her age group. So sorry Mica!)
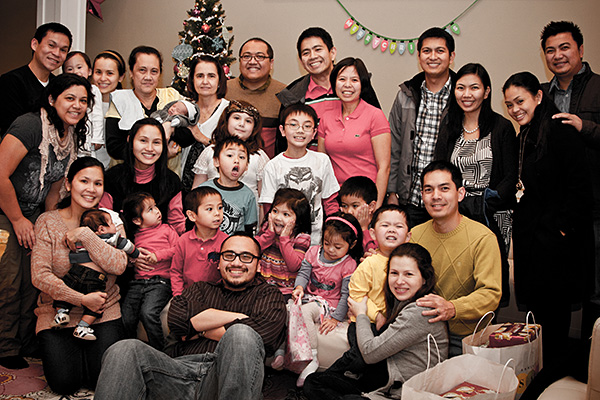
photo courtesy of Frenchy Dalumpines

photo courtesy of Jay Casiño
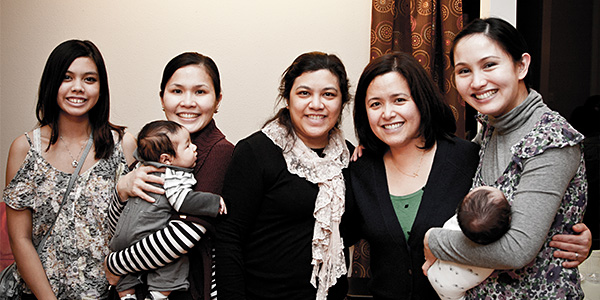
photo courtesy of Frenchy Dalumpines
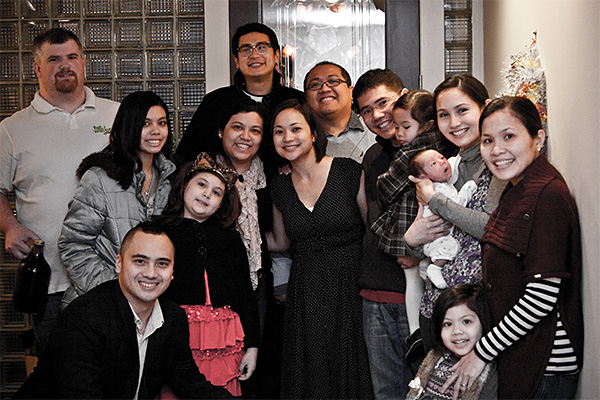
photo courtesy of Frenchy Dalumpines
As a double bonus, my cousin Brit and his wife Sarah who live in Texas were able to drive up from Portland (where they were visiting family) to spend a Saturday with us. (And yes, Mica is taller than me now but just so you know, I’m overly slouching in the photo below – haha!)

photo courtesy of Jay Casiño
Here we are greeting the New Year with a small feast – after turning all the lights on in the house, hanging 12 grapes on the front door, and sprinkling coins by the front entrance.

photo courtesy of Jay Casiño
Nowadays, it’s extremely difficult to get my girls to pose with me for a decent photo – so I am extremely grateful for any snapshot my friends can take of us.
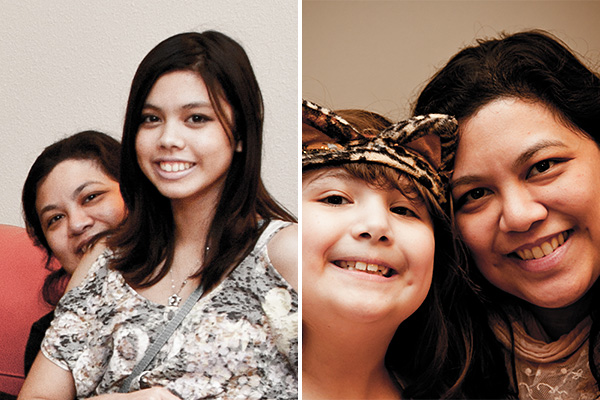
photo courtesy of Frenchy Dalumpines

photo courtesy of Frenchy Dalumpines

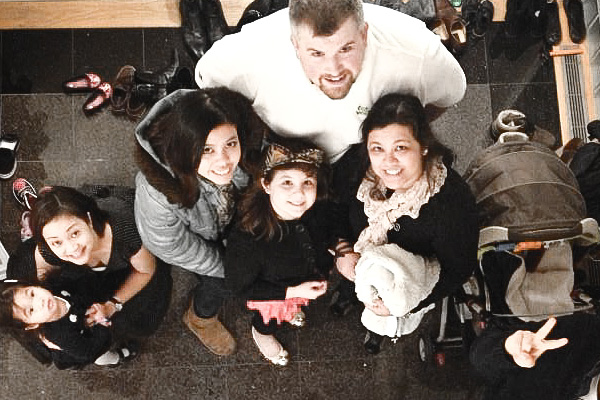
photo courtesy of Francis Mercado
And that’s my latest adventure. Now that I’m back home, I’m all fueled up for another year of life, love, and creativity. Expect lots of inspiring and exciting things from me this year.
|
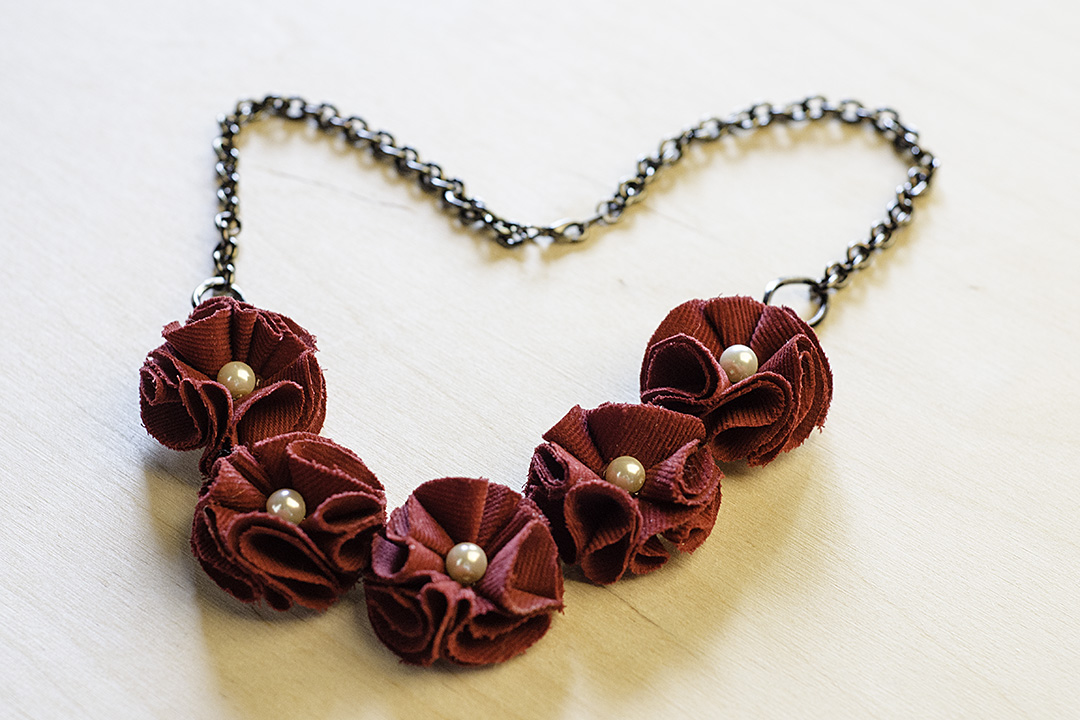
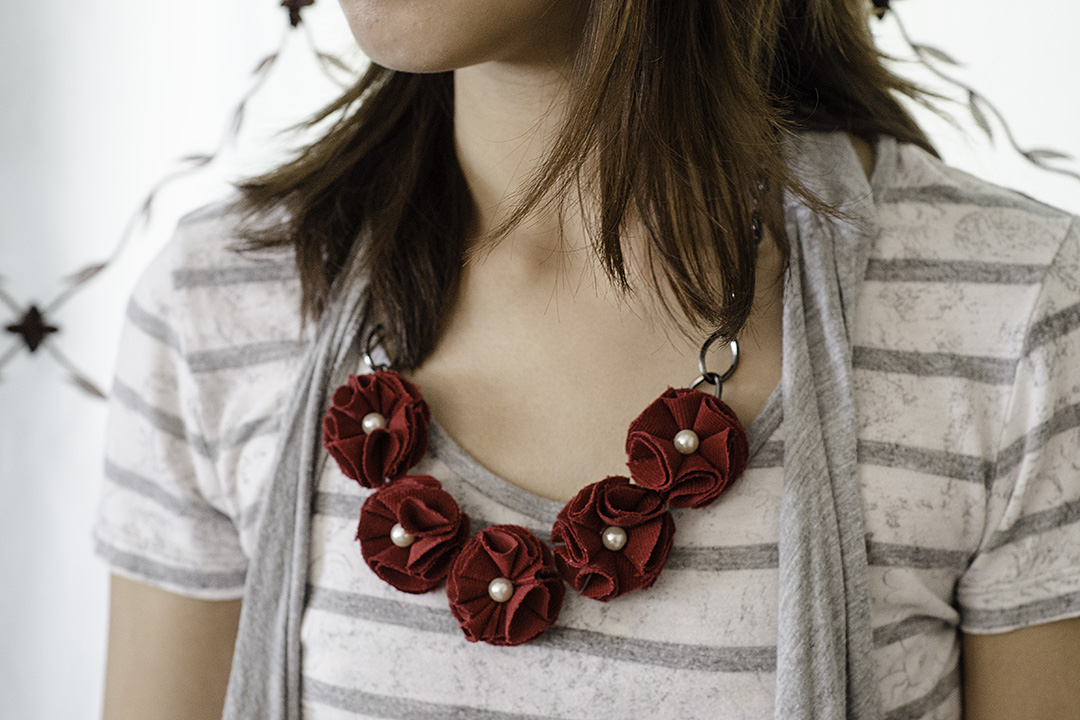
Fabric Flower Bib Necklace Tutorial
Fabric flowers are all the rage these days – you see them on jewelry, on clothing, and even in home accessories like on decorative pillows. In this tutorial, I’m going to show you how to make this charming flower bib necklace. It does involve a little bit of sewing but I promise you that it is very easy and will take you no more than half an hour to make.
Materials You’ll Need:
- cotton fabric (scraps will work)*
- felt (scraps will work as well)*
- necklace chain (I used a 16-inch chain)
- glass pearls, beads, or other embellishments
- fabric scissors
- needle and thread that matches your fabric
- glue gun
*You’ll have a better idea on how much fabric and felt you need after viewing the video.
In this other necklace, I paired a single fabric flower with a string of pearls:

Fabric Flower Bib Necklaces
I’m swimming with the tide and made my own flower bib necklaces – since they seem to be all the rage these days and my two daughters love to accessorize! It’s easy to go wild with the flower arrangements when making a bib necklace but I like to keep my designs dainty so Mica can where the necklaces to school without being gaudy. (She’s actually wearing the lace necklace today.) And as you can see, I love the look of pearls.
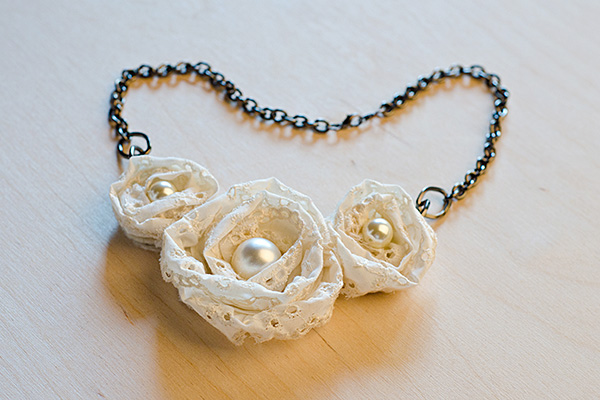
Lace Flower Bib Necklace
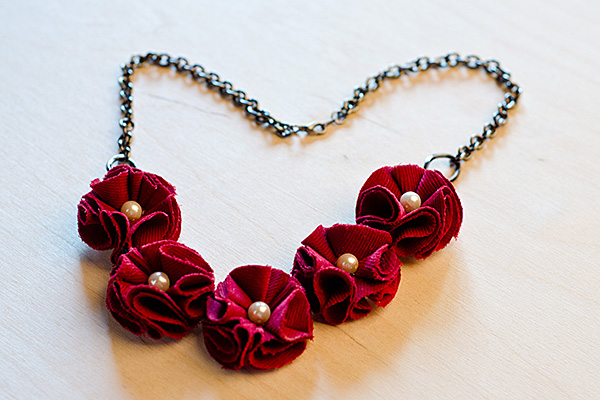
Rosette Flower Bib Necklace
I did several necklaces which showcase different kinds of fabric flowers. The ones above are just two of my favorites. I also created video tutorials on how to make them. (Yes, I’m slowly conquering my fear of ‘talking in front of the camera’ and started making videos. I figured, the necklace tutorials are good warm-up video projects for me.) I’m in the process of editing them but I will be sharing the videos here in the blog very soon – so please watch out for them.
|
Art Exhibit at the Wired Cafe
I’m super thrilled to be the featured artist this March at Wired Cafe in downtown Rockford, Illinois! Thanks to my very supportive husband for helping me hang my artworks on the walls last Thursday. I couldn’t have done it without him.
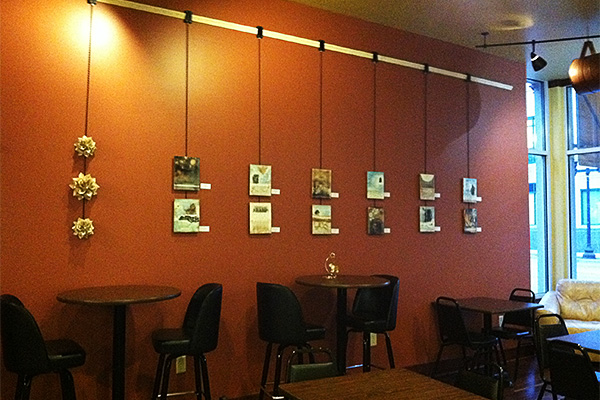
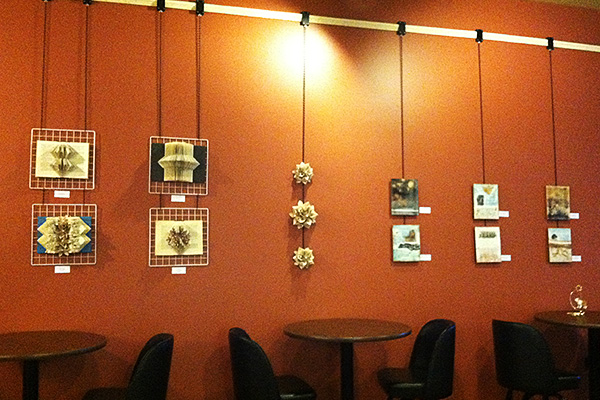
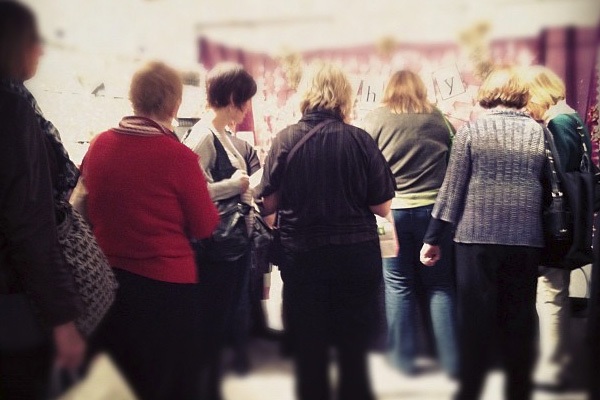
We had an opening night last Friday, but unfortunately, we experienced a snowstorm which prevented a lot of people from leaving their houses that night. Nevertheless, I thought it was a fun night, especially with Michael and Naomi providing the crowd with some relaxing jazz tunes.
So stop in the Wired Cafe anytime this month to check out my art exhibit and treat yourself to a delightful breakfast or lunch. Be sure to try their granola yogurt parfait – so good!
|
Art Exhibit at the Wired Cafe March 2 to April 6, 2012 414 East State Street Rockford, IL |
|
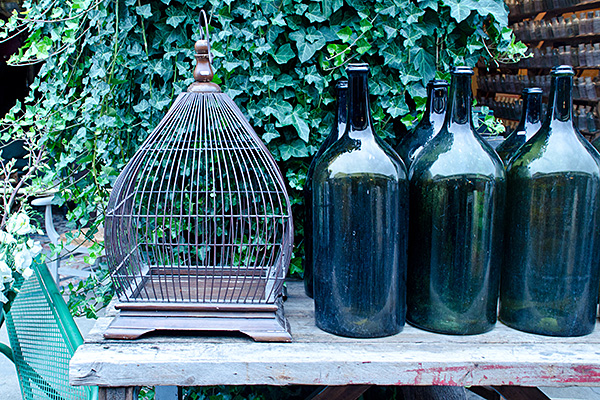
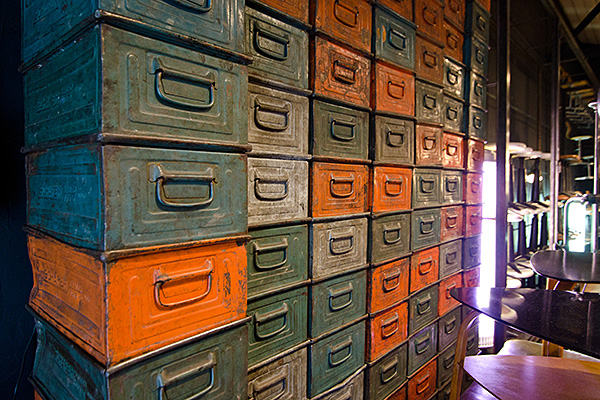
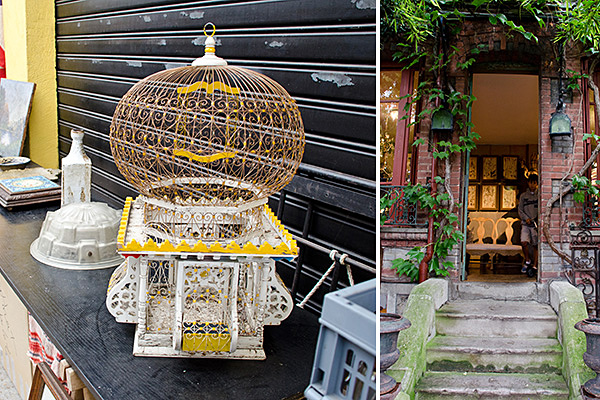
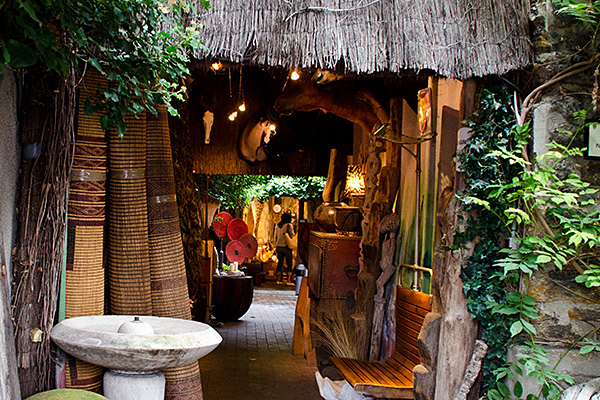
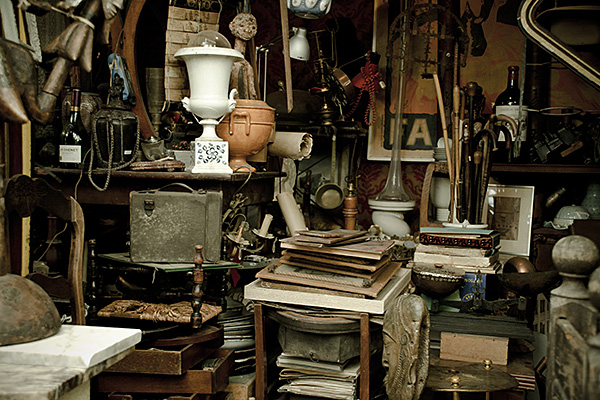
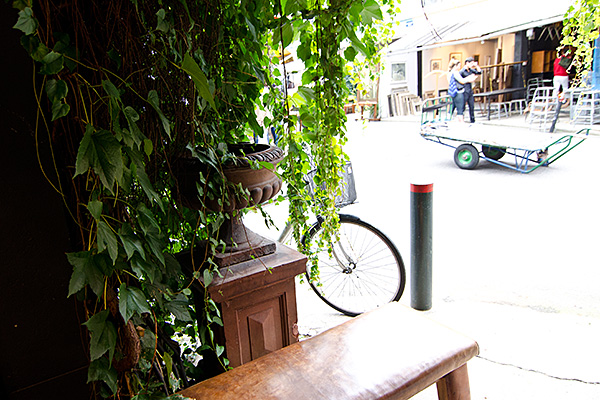
Les Puces de Saint-Ouen {Part 3}
The last of my flea market photos. I bet you’re just itching to visit! Oh and I almost forgot, I found the fabric district in Paris. It’s at Montmartre, just to the right of Sacre Coeur Basilica (if you’re facing the church). Again, I was in heaven when I entered Tissus Reine – this huge fabric store! If you’re a kindred artist, I promise you you’ll love it! And beside it is this small store of fabric remnants in discounted prices. Worth taking a look as well!
|