You know what’s very rewarding about homeschooling – no matter how challenging it is to undertake? Seeing your child explore and create without abandon! Rinoa, who’s presently 8 years old, saw me making the mini felt plush bear for her cousin. And even though I promised to make her one (after we buy some more mints for the tin container), she decided to make her own plushie – all by herself. I just noticed her sketching out a pattern on felt and before I knew it, she was presenting me with the finished piece! I love how she gets an idea in her head and just carries it out – fearlessly! It does help to have full access to a well-stocked studio! *wink
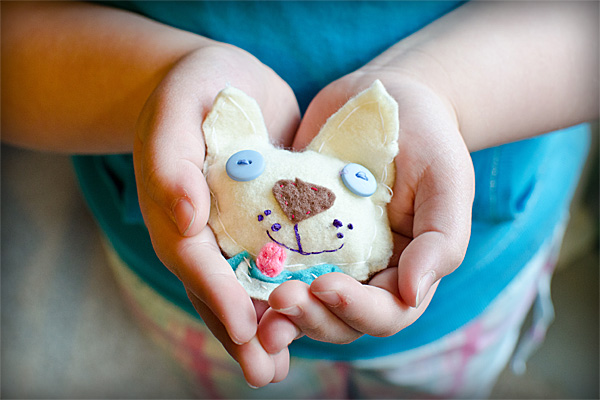
And here she is, all smiley, as always!

 |
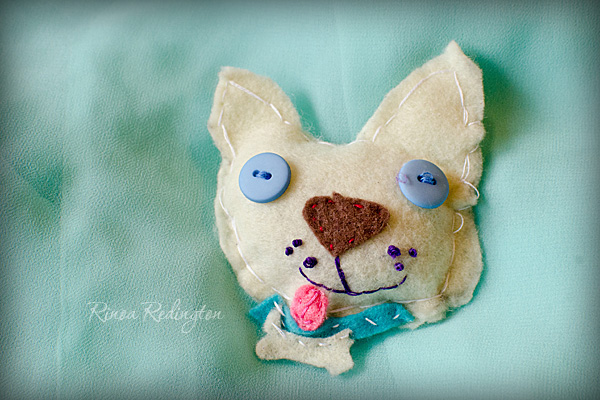
Mini Felt Plushie |
This craft project is perfect for kids learning how to sew. Felt fabric is an ideal material to use since it doesn’t fray and comes in a variety of colors! I purposely didn’t include a pattern for this project so children can create their own designs which will encourage them to use their imagination and explore basic silhouette shapes. If your child is just learning how to sew, make sure you assist them when using a needle.
You will need:
- pencil and paper
- felt in various colors
- scissors
- embroidery needle
- embroidery floss
- 2 buttons
- stuffing
1. Sketch out the design of your plushie animal head on paper. Draw a pattern to trace on the felt. Cut out 2 pieces for the animal head – one for the front and one for the back.
2. Work on the plushie’s face. For Rinoa’s plushie, she sewed on a felt piece for the nose and buttons for the eyes. She used backstitch for the mouth and french knots for the whiskers. And then she added a felt piece for the tongue.
3. Use running stitch or whip stitch to sew together the front and back pieces of the head. Leave a small opening to insert stuffing. When your plushie is stuffed, finish sewing the head.
 |